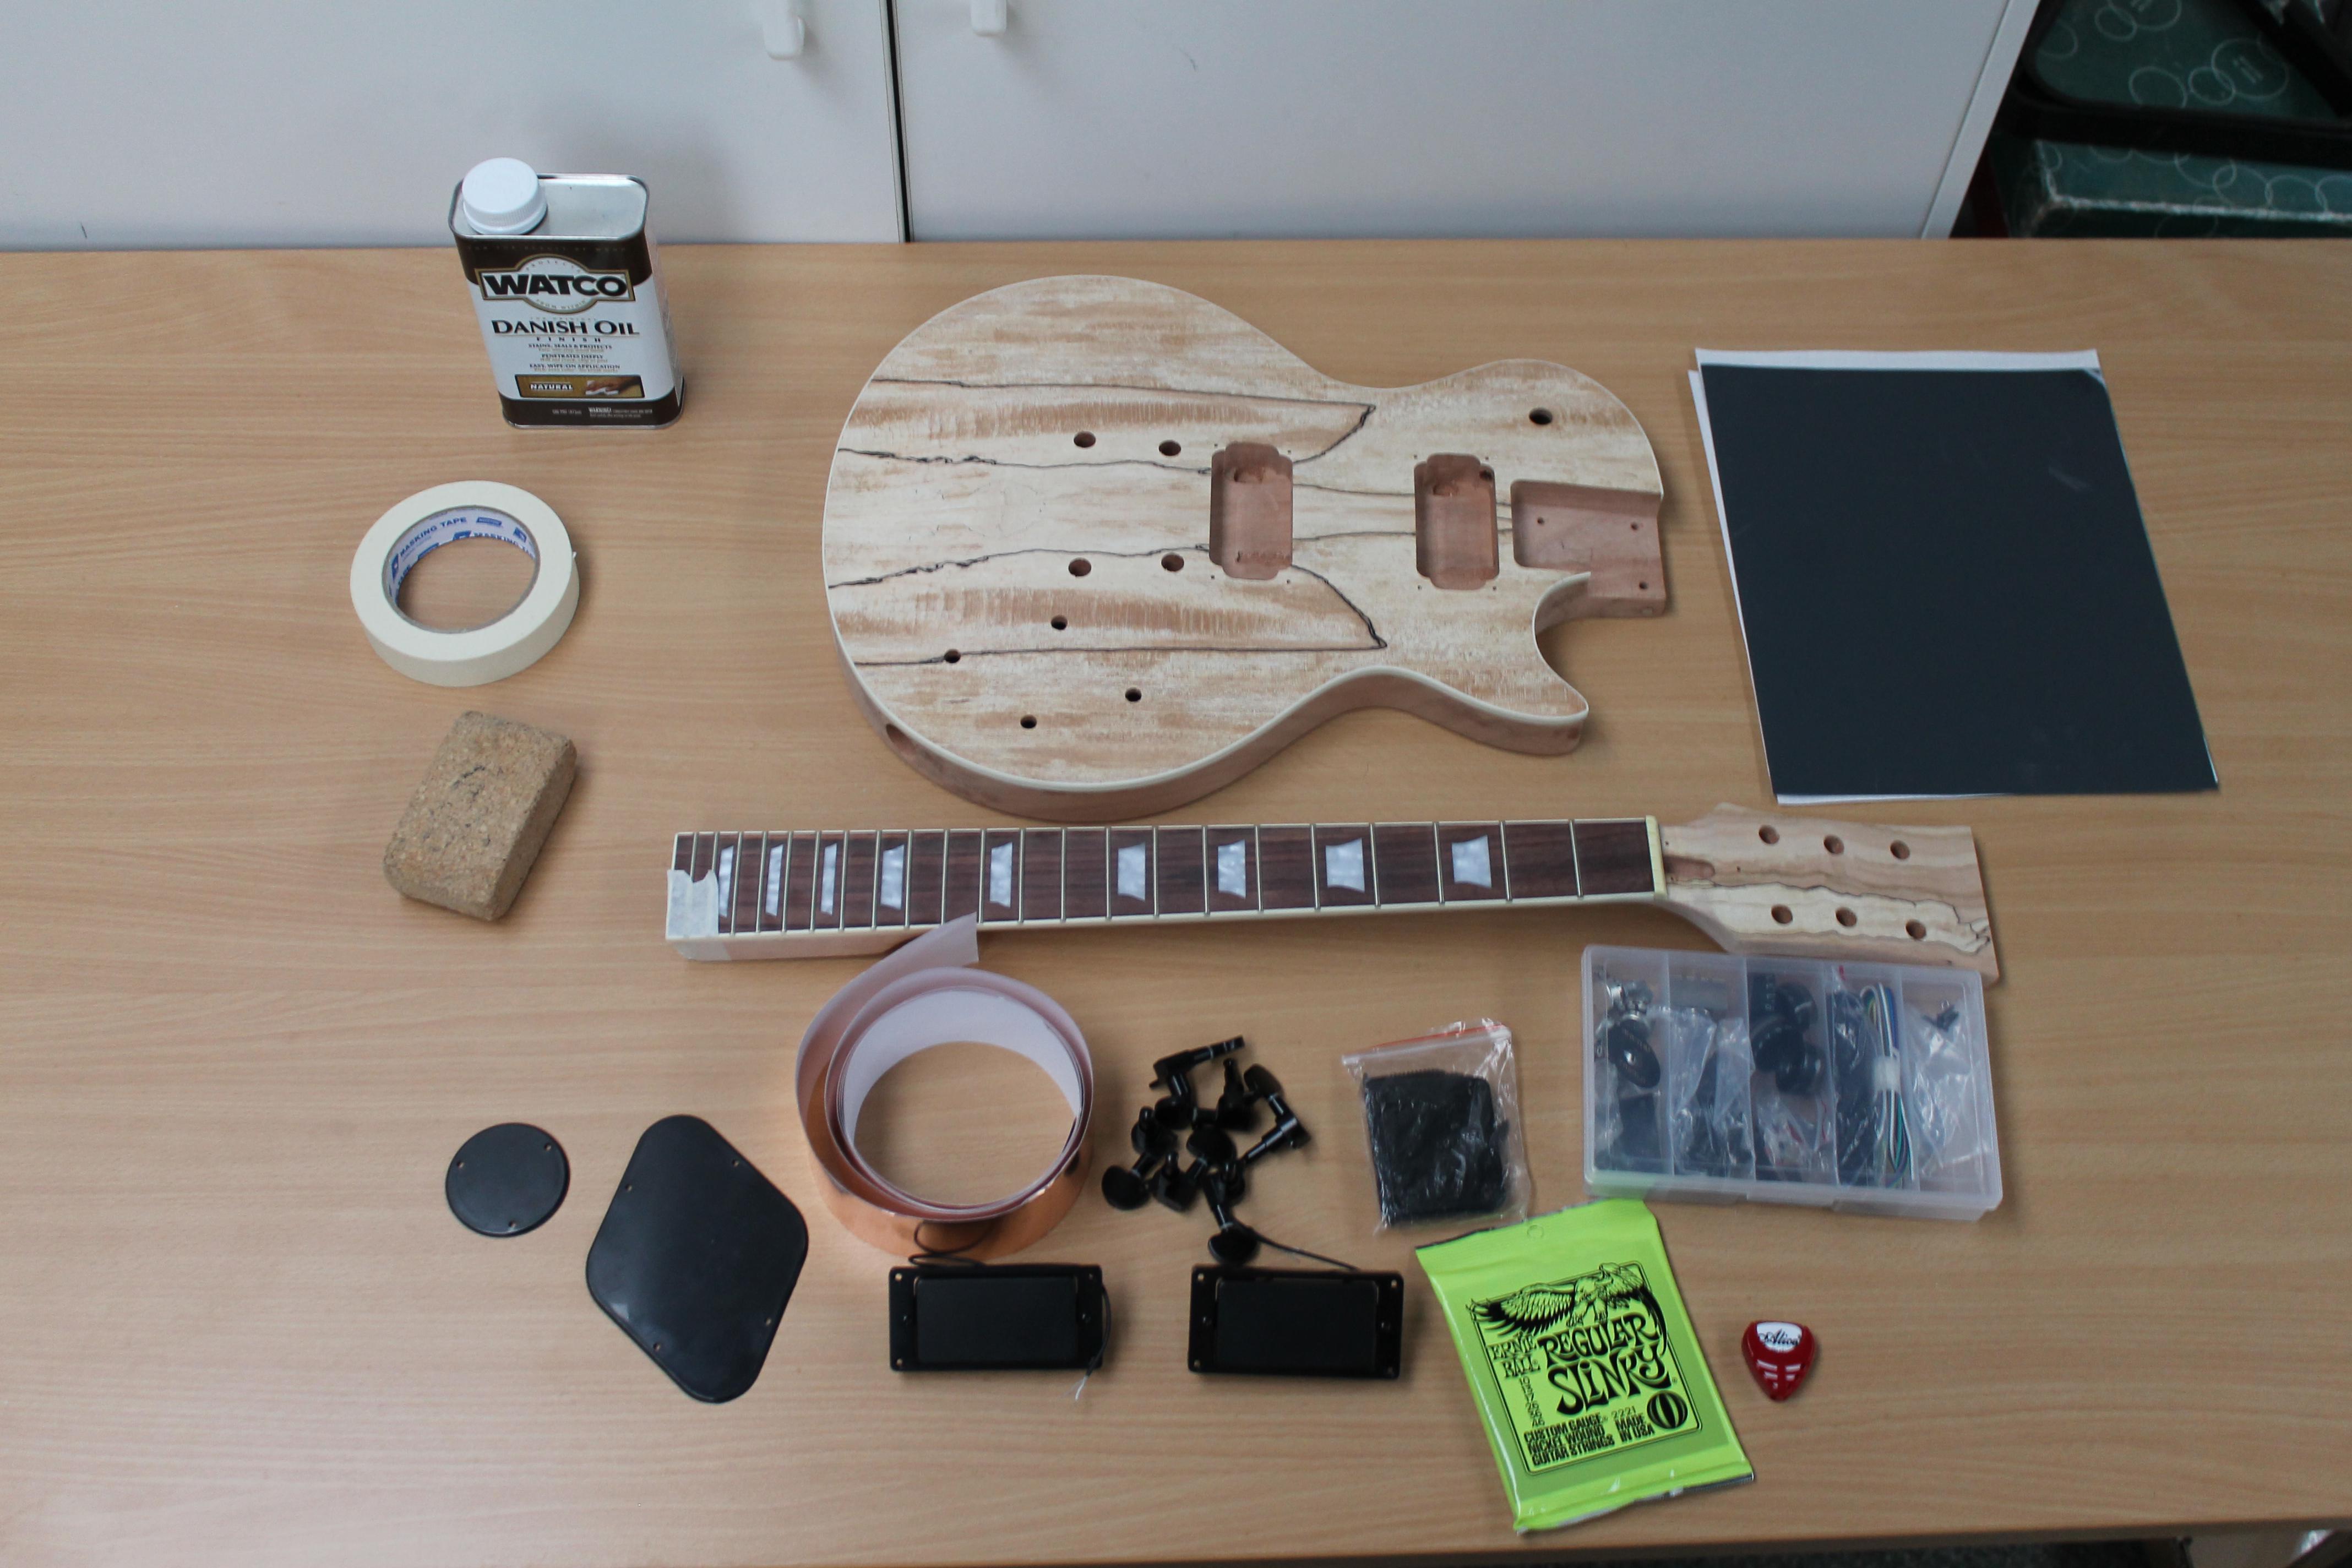
Before I begin to start prepping the body for finishing, I thought I should mock-up the basic parts of the guitar to ensure that everything was going to fit together. This would also allow me to make any modifications during the prep phase if anything was a little off.
Once I began to mock everything up, this is when I began to notice some issues with the kit. To be honest, I really didn’t expect the highest quality hardware etc given the price I had paid, but so far I had been pleasantly surprised.
The first issue I noticed was that when setting the neck in place, the positioning seemed to be a little off. After taking the neck back and and looking inside the cavity in which the neck sits within the body, I noticed that there were some high and low spots which we causing the neck to not seat fully. After getting a little creative with a chisel and sanding block, everything now seems to marry up a lot nicer.

Initial Neck Installation
After I was happy with the neck position, I started to put together the bridge and tail piece. This is where I ran into my next issue. One of the posts for the tail piece didn’t have enough clearance for me to slot the tail piece into place. Again some handy work with the stanley knife and sandpaper fixed this issue up. Although not an ideal solution, once the tail piece has been slotted over the post, it is next to impossible to see.
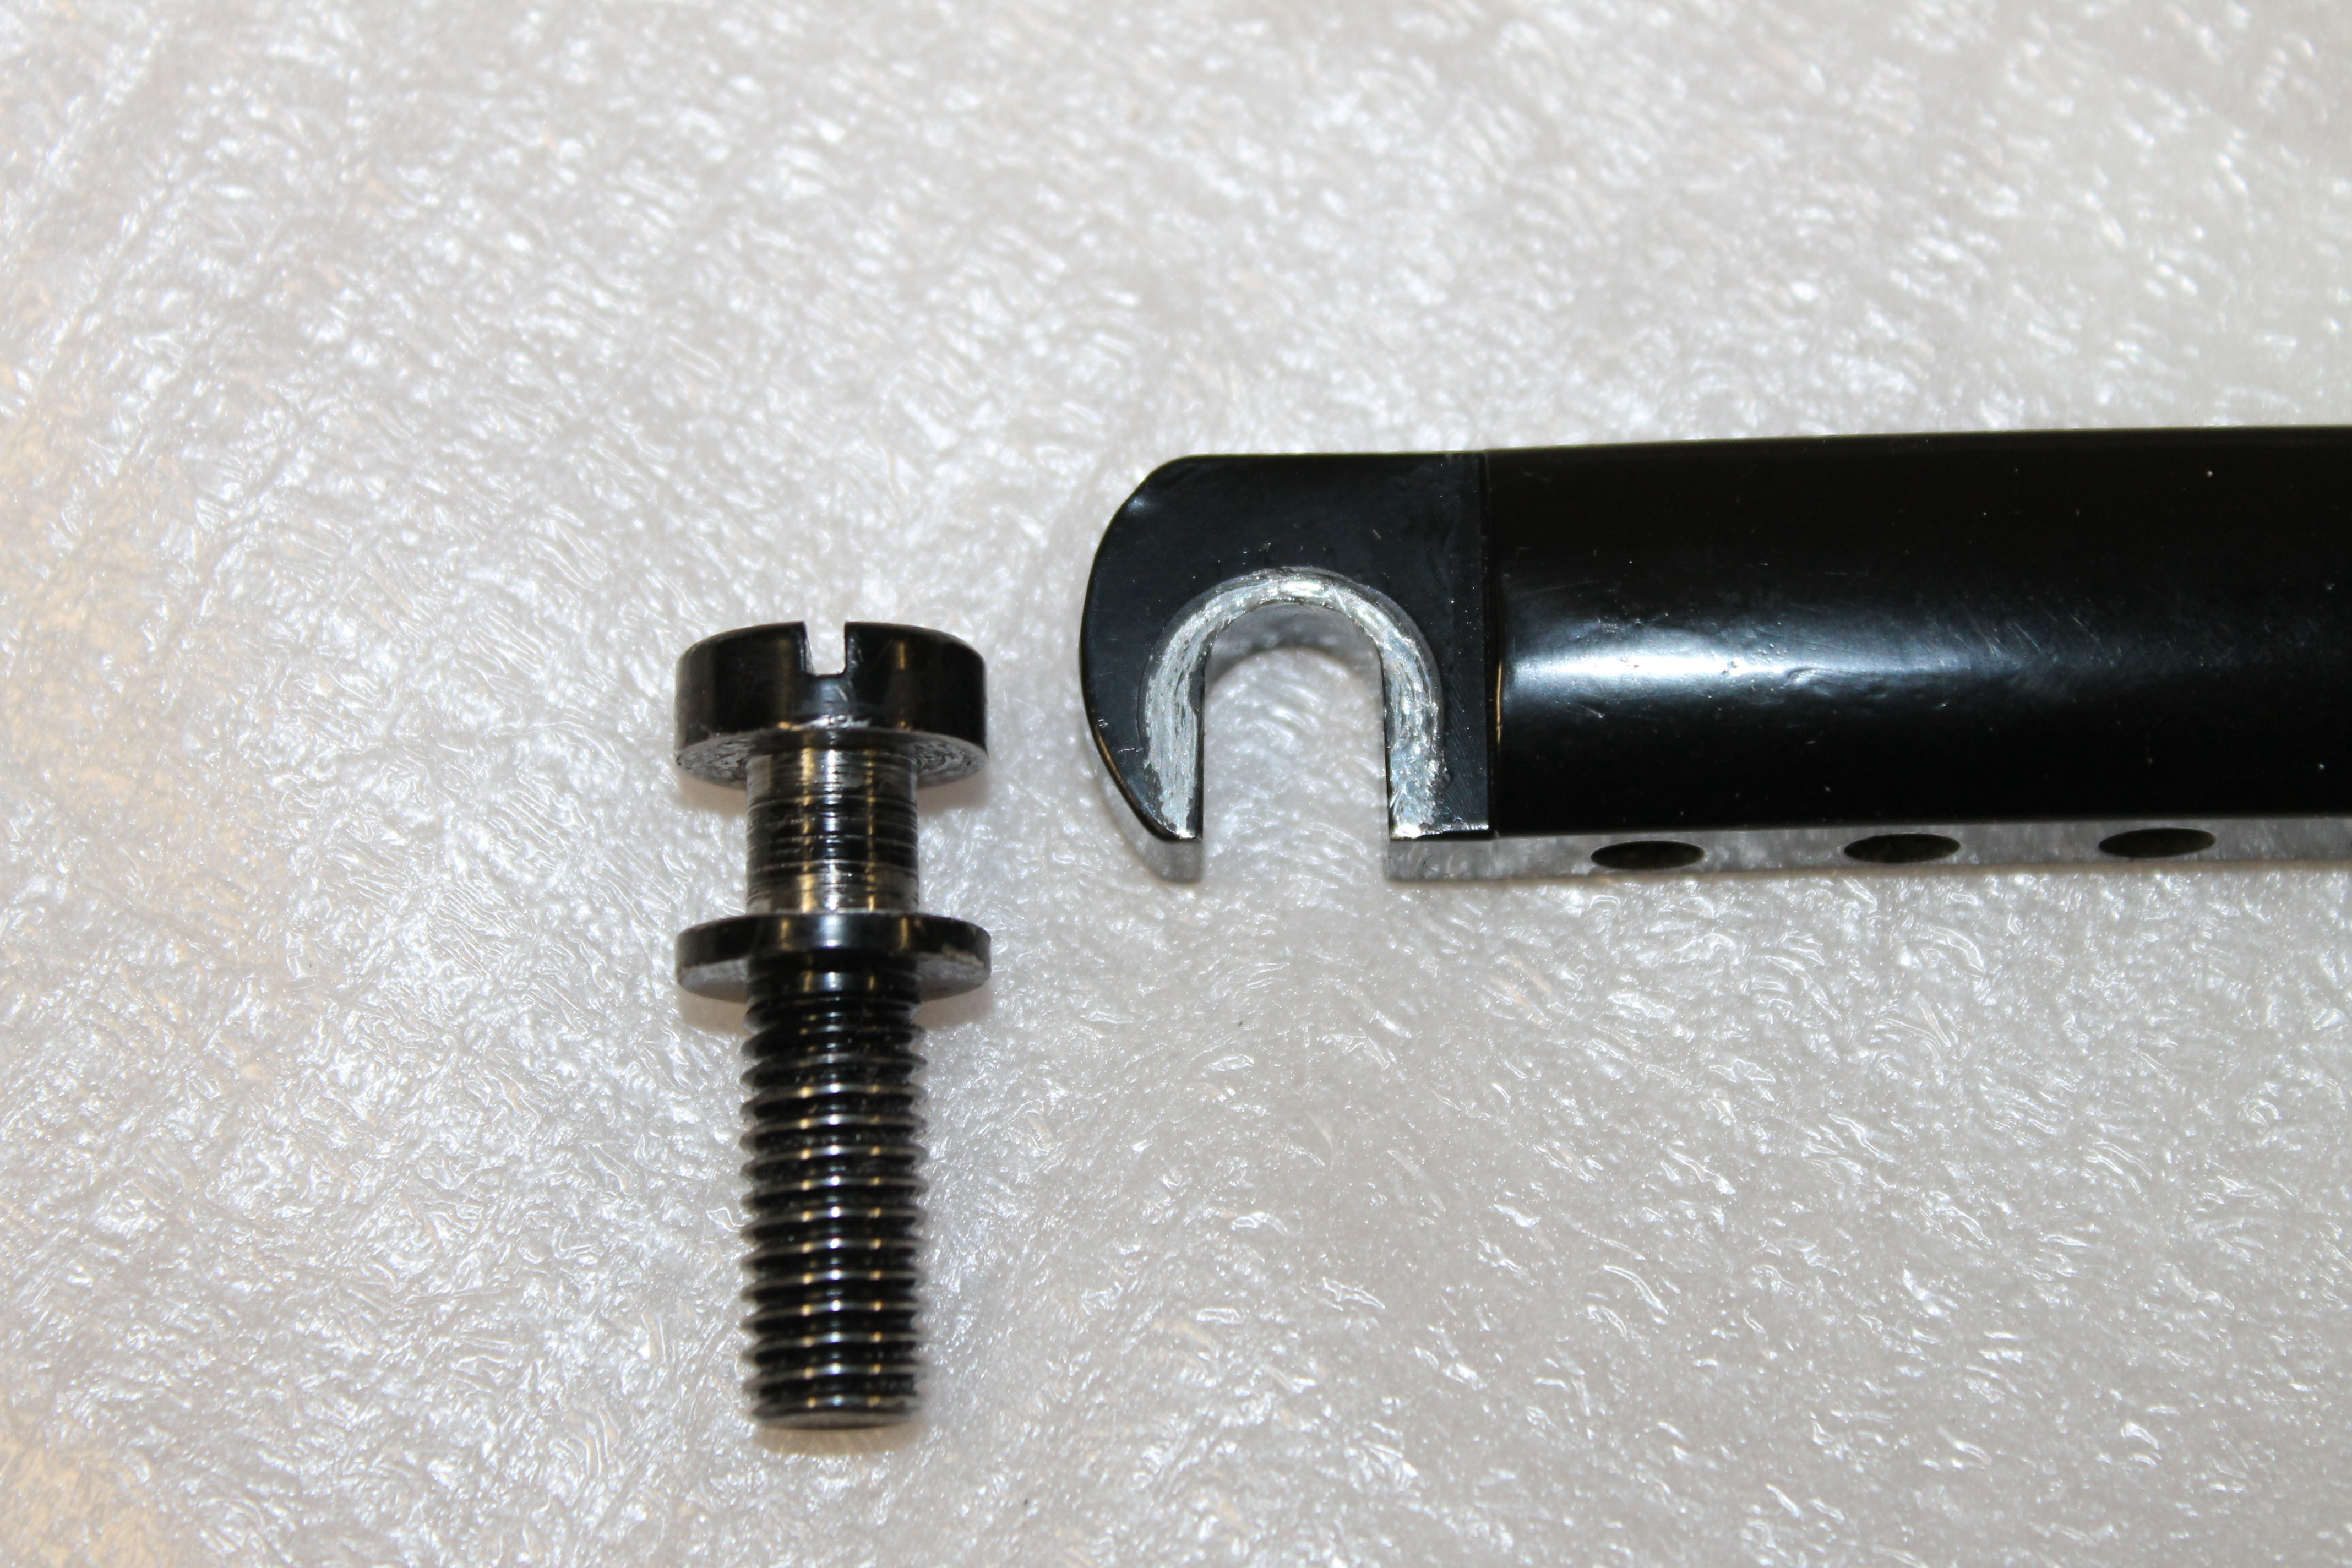
Tail Piece Modifications
The rest of the mock-up went pretty smoothly. It was pleasing to see that once I had temporarily screwed in a couple of machine heads, the strings did indeed run nice and straight up and down the neck. The below shows my final mock-up.
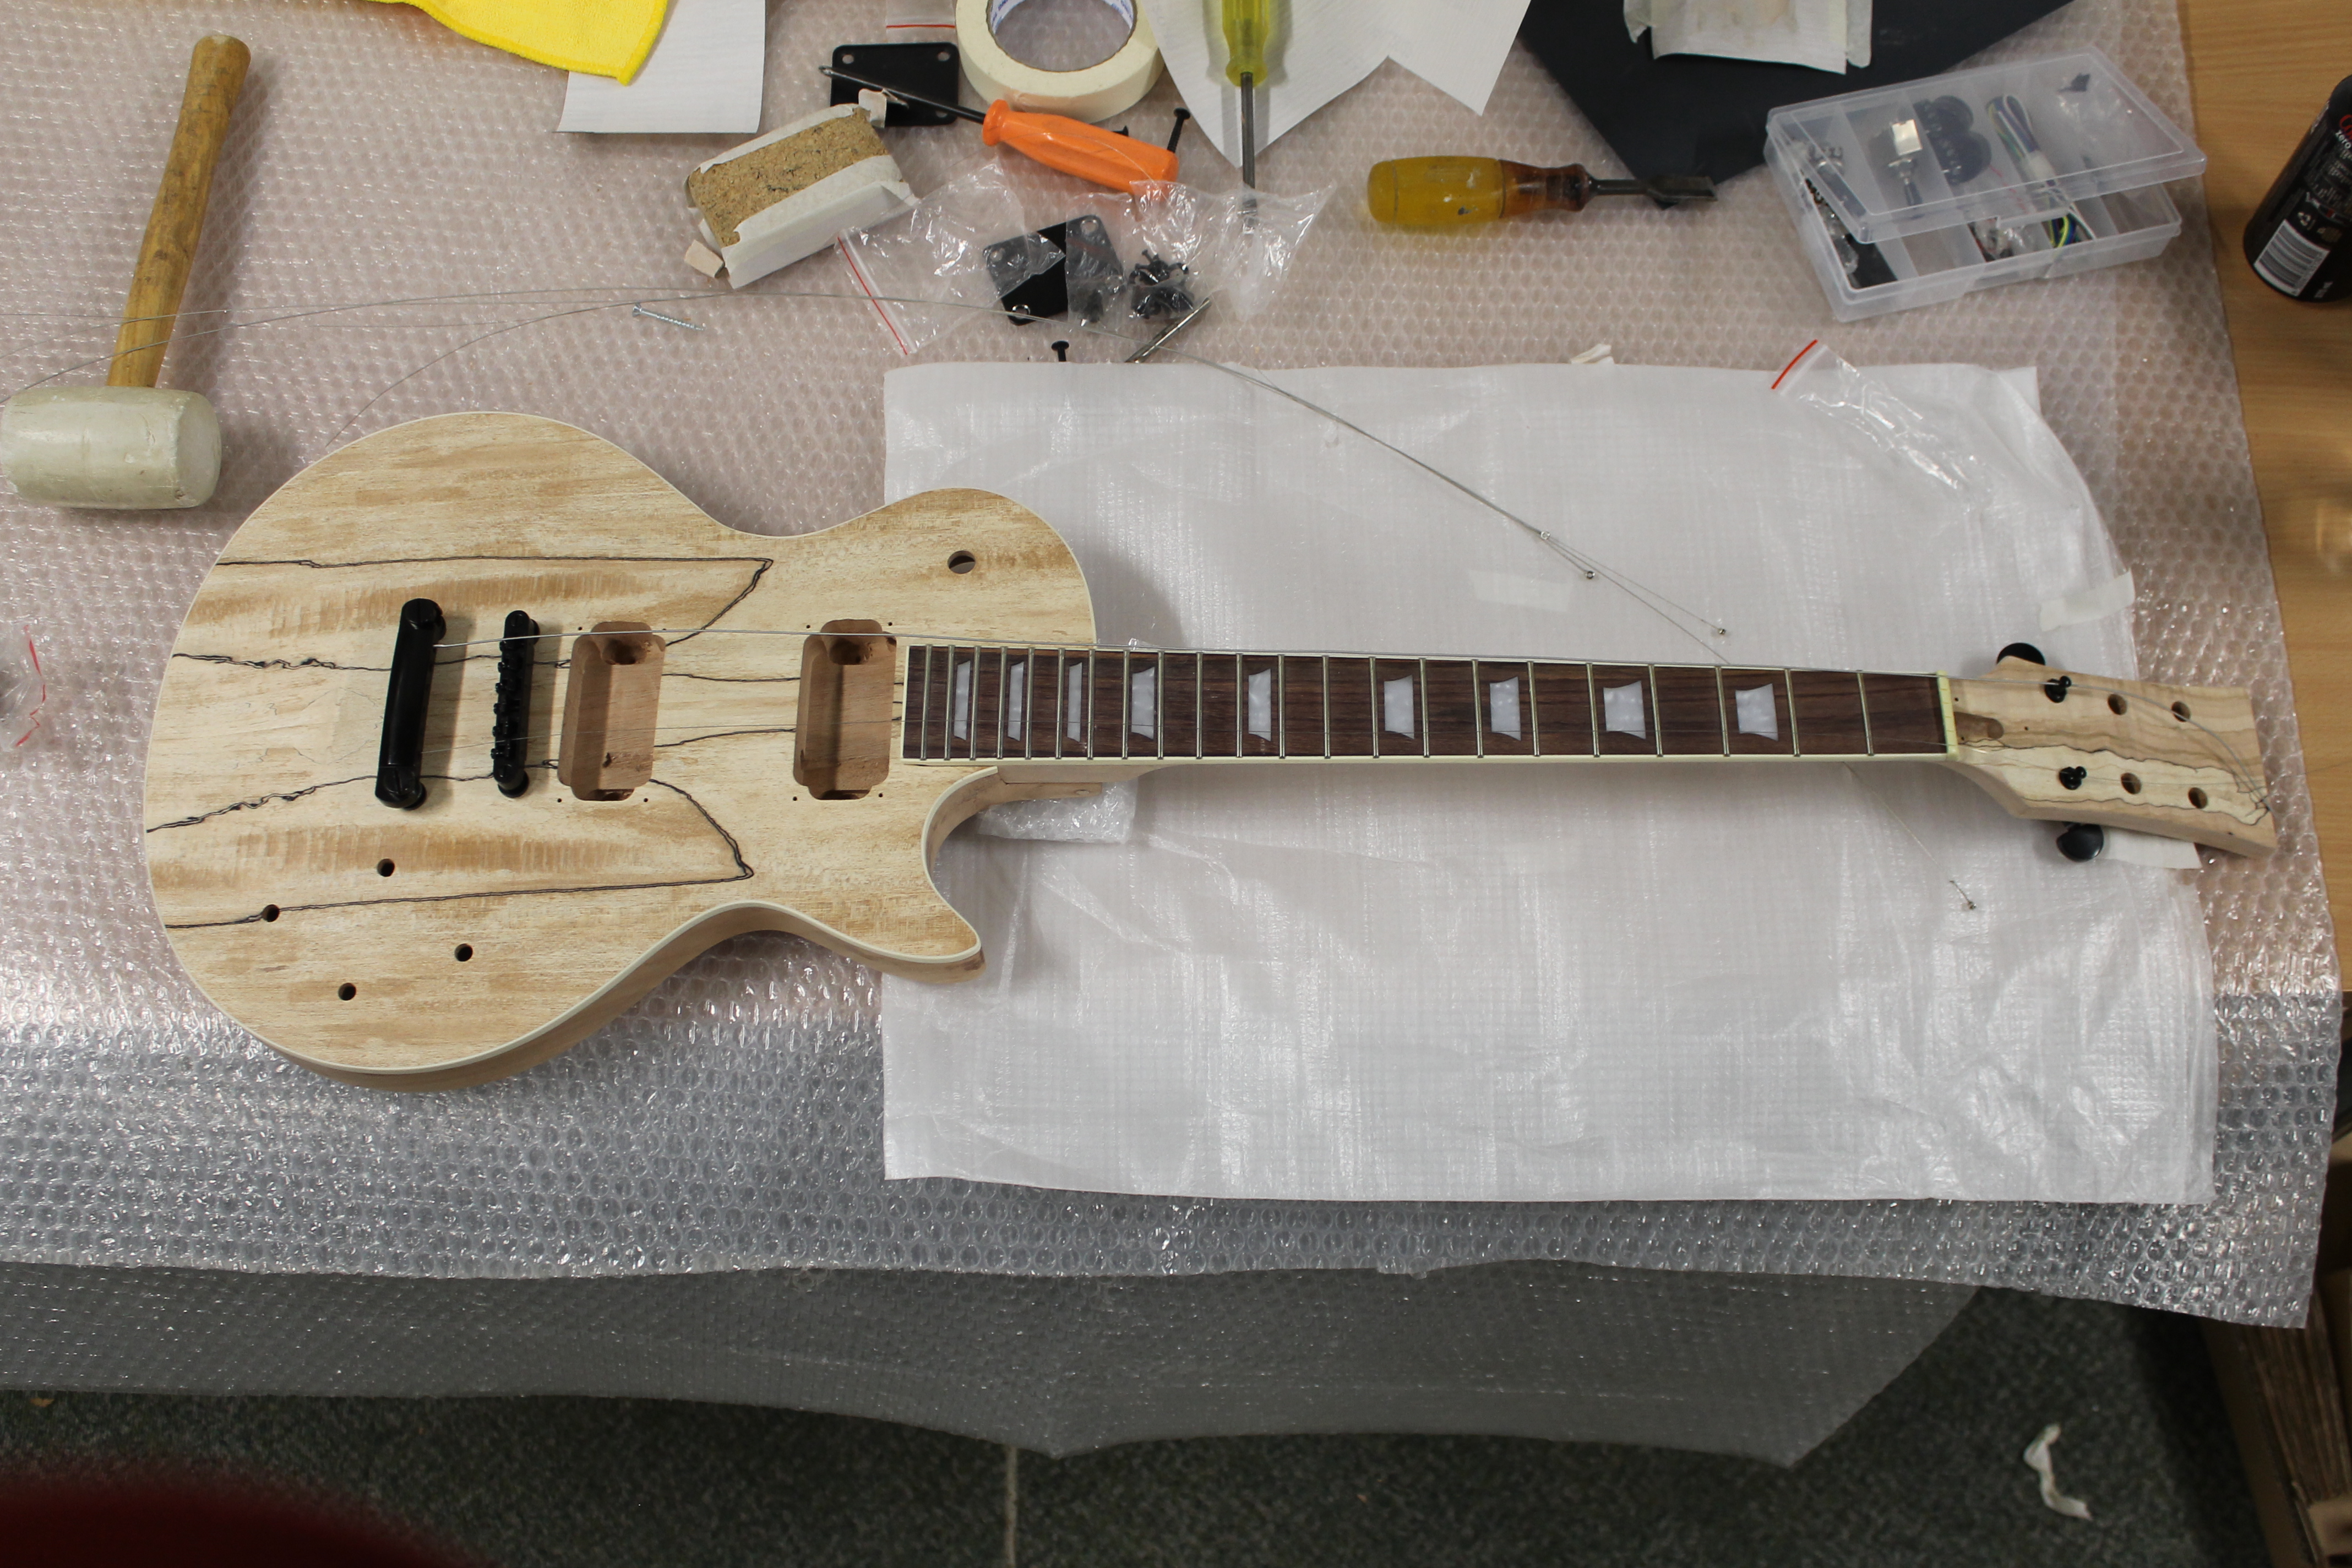
Mock-up Complete
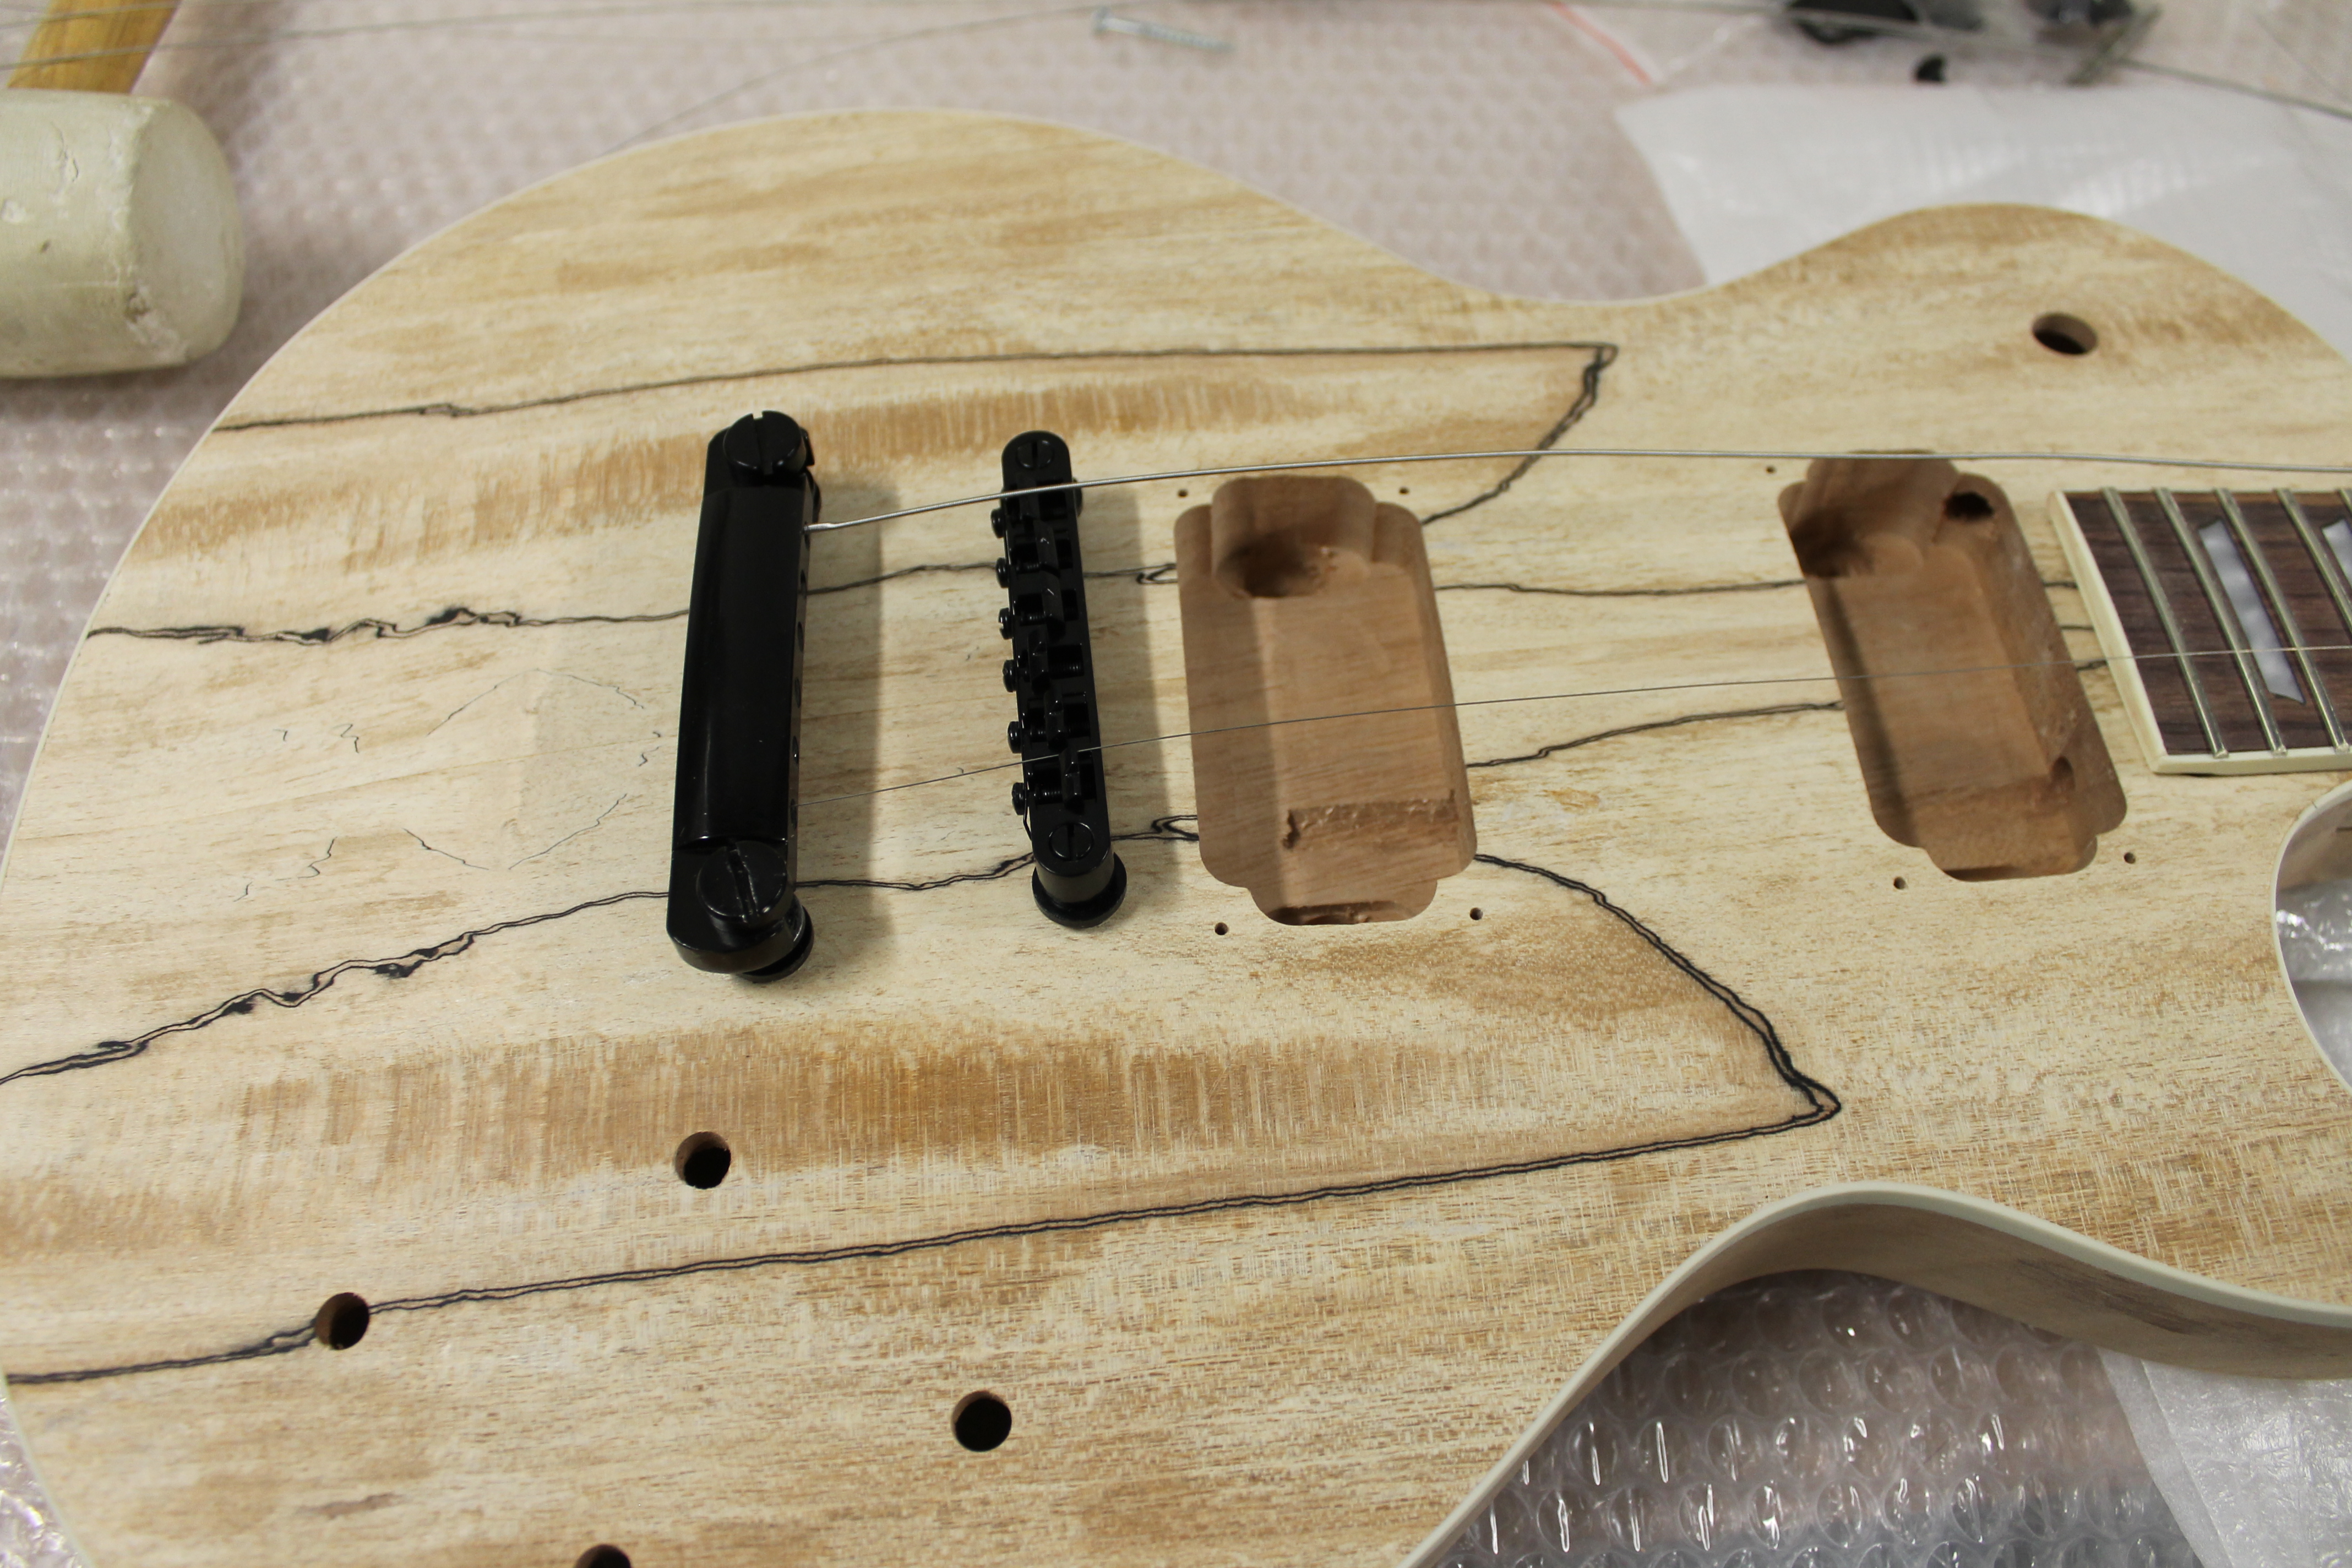
Close up – Bridge and Tail Piece
Now that I am happy with how everything sits, it’s time to begin sanding the neck and body!
Comments are closed, but trackbacks and pingbacks are open.