After deciding what I was going to do with the guitar, I now needed to figure out how I was going to prep the body for it’s new paint job. After reading extensively online regarding stripping the factory finish off guitar bodies, I was left with two main options:
- Attempt to heat the existing finish up with a heat gun and “peel” the finish off
- Sand the existing finish back far enough to allow me to apply new primer / paint
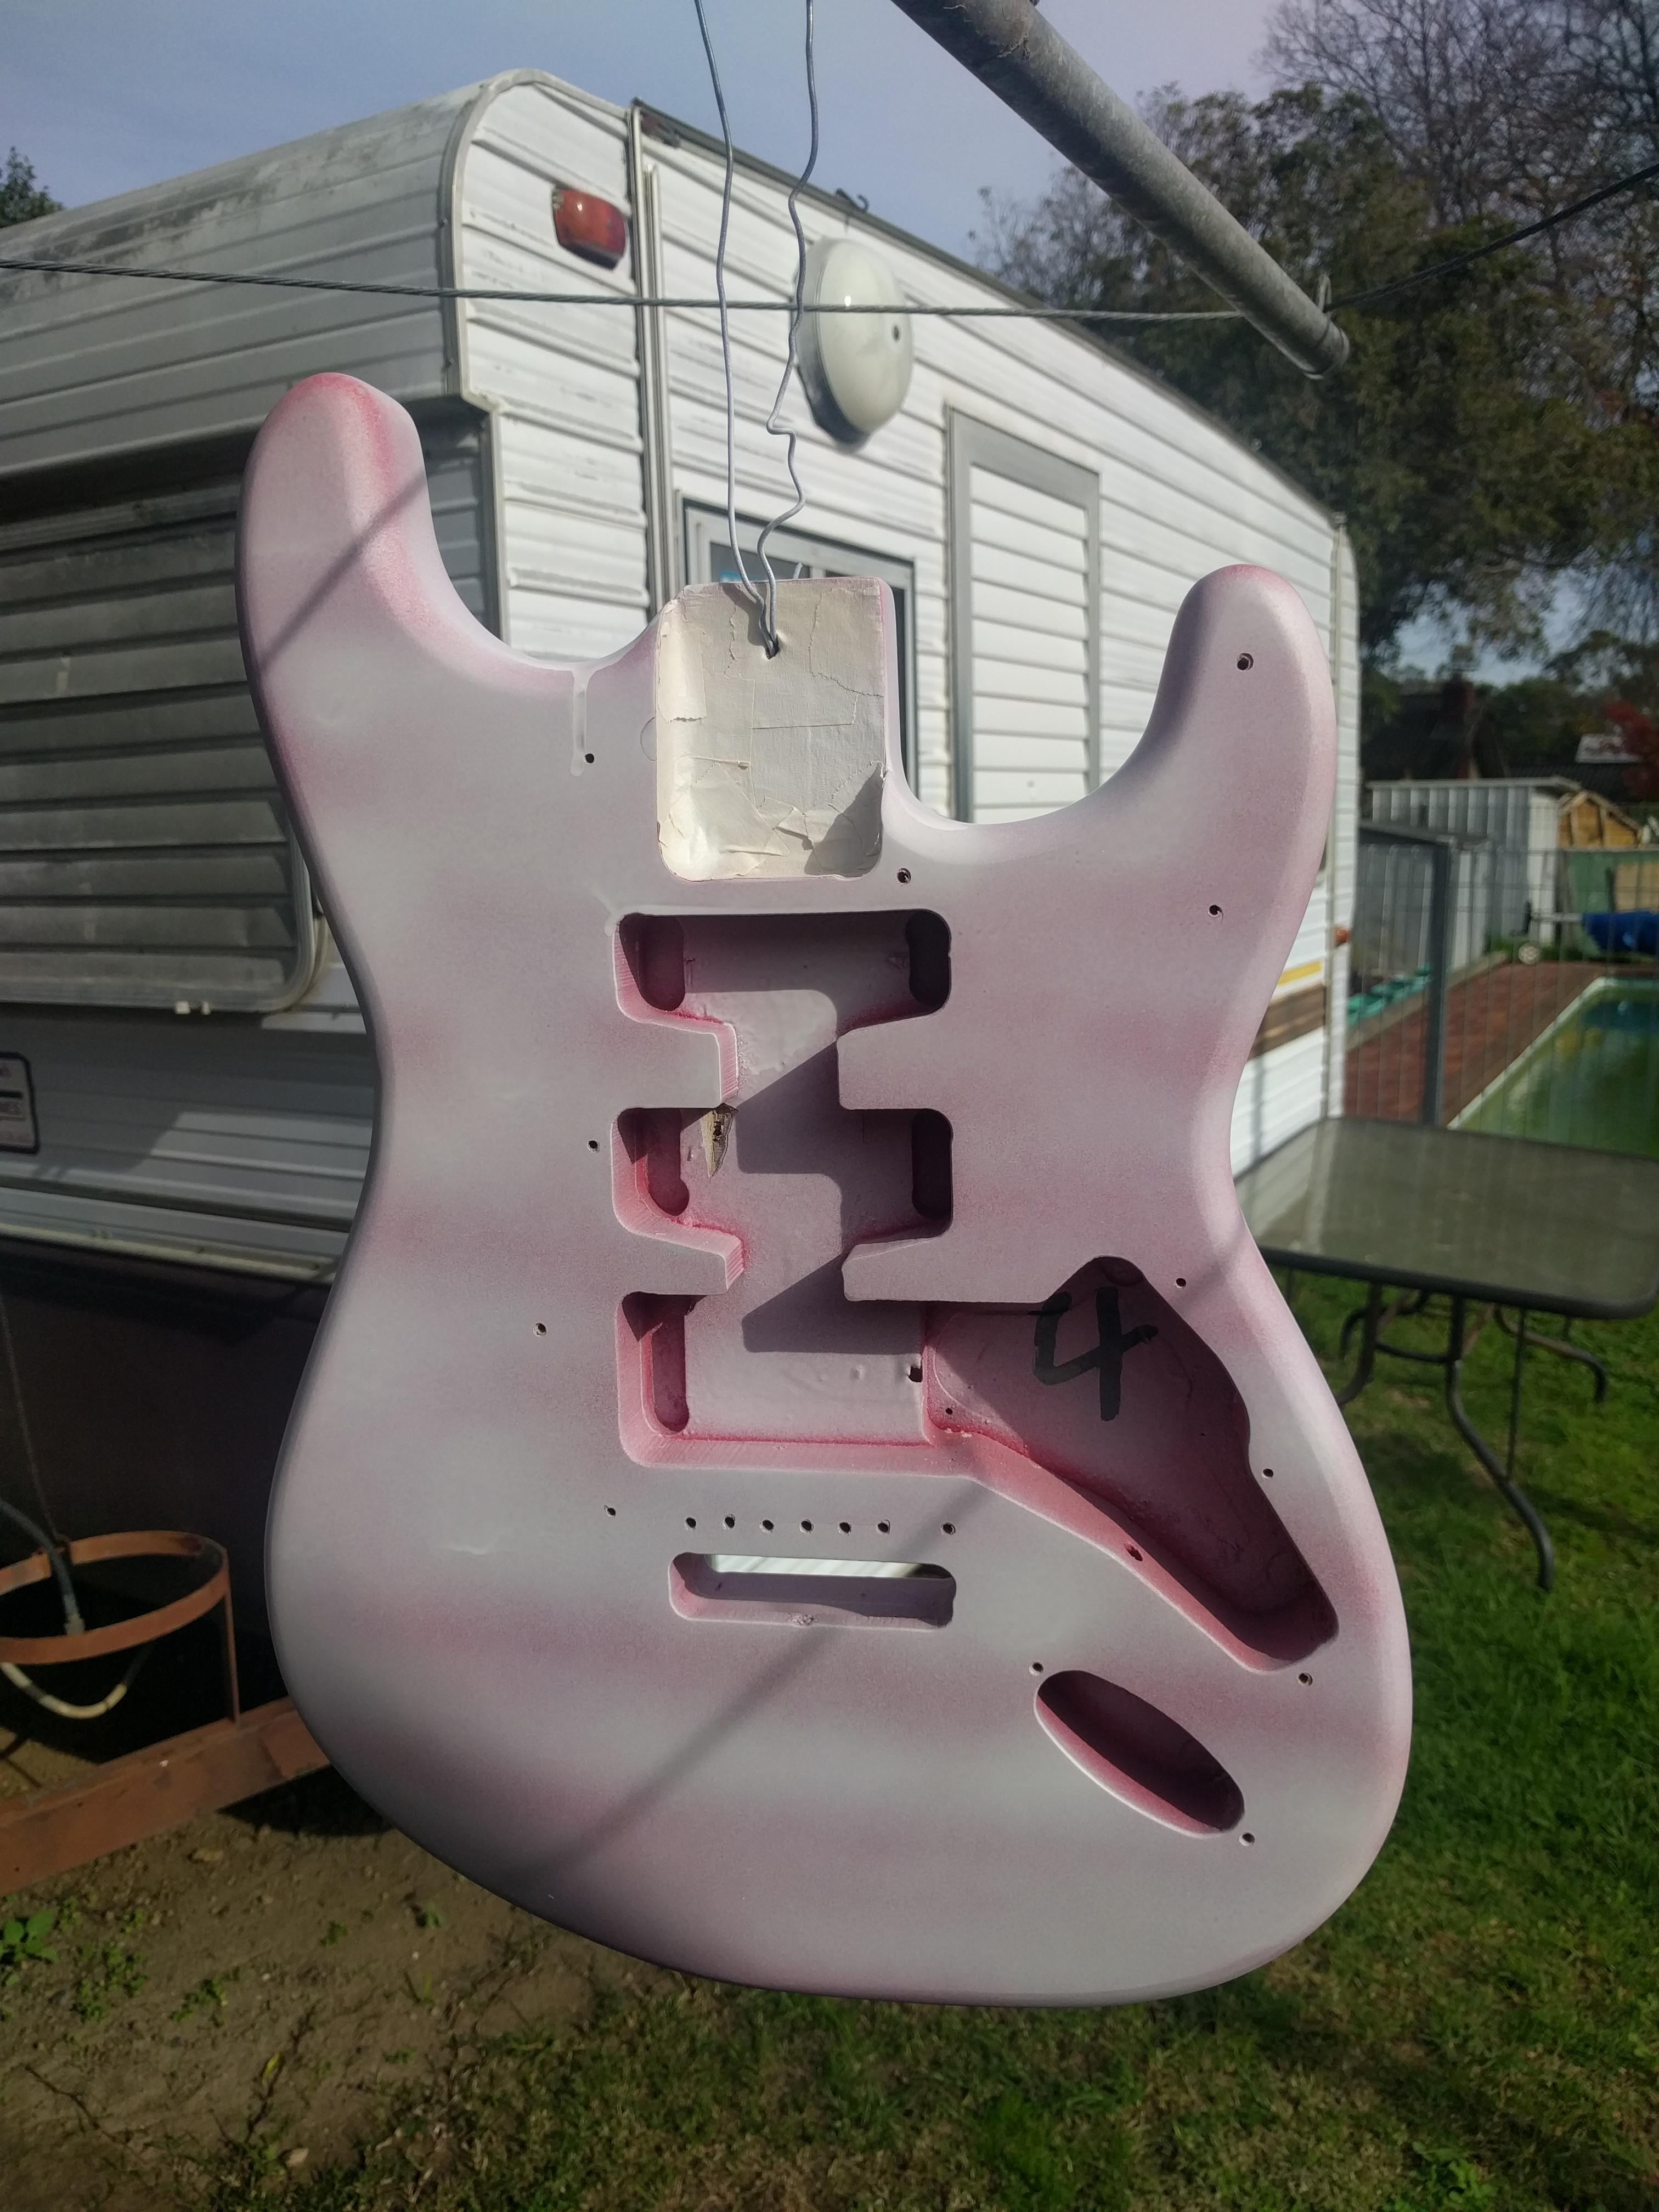
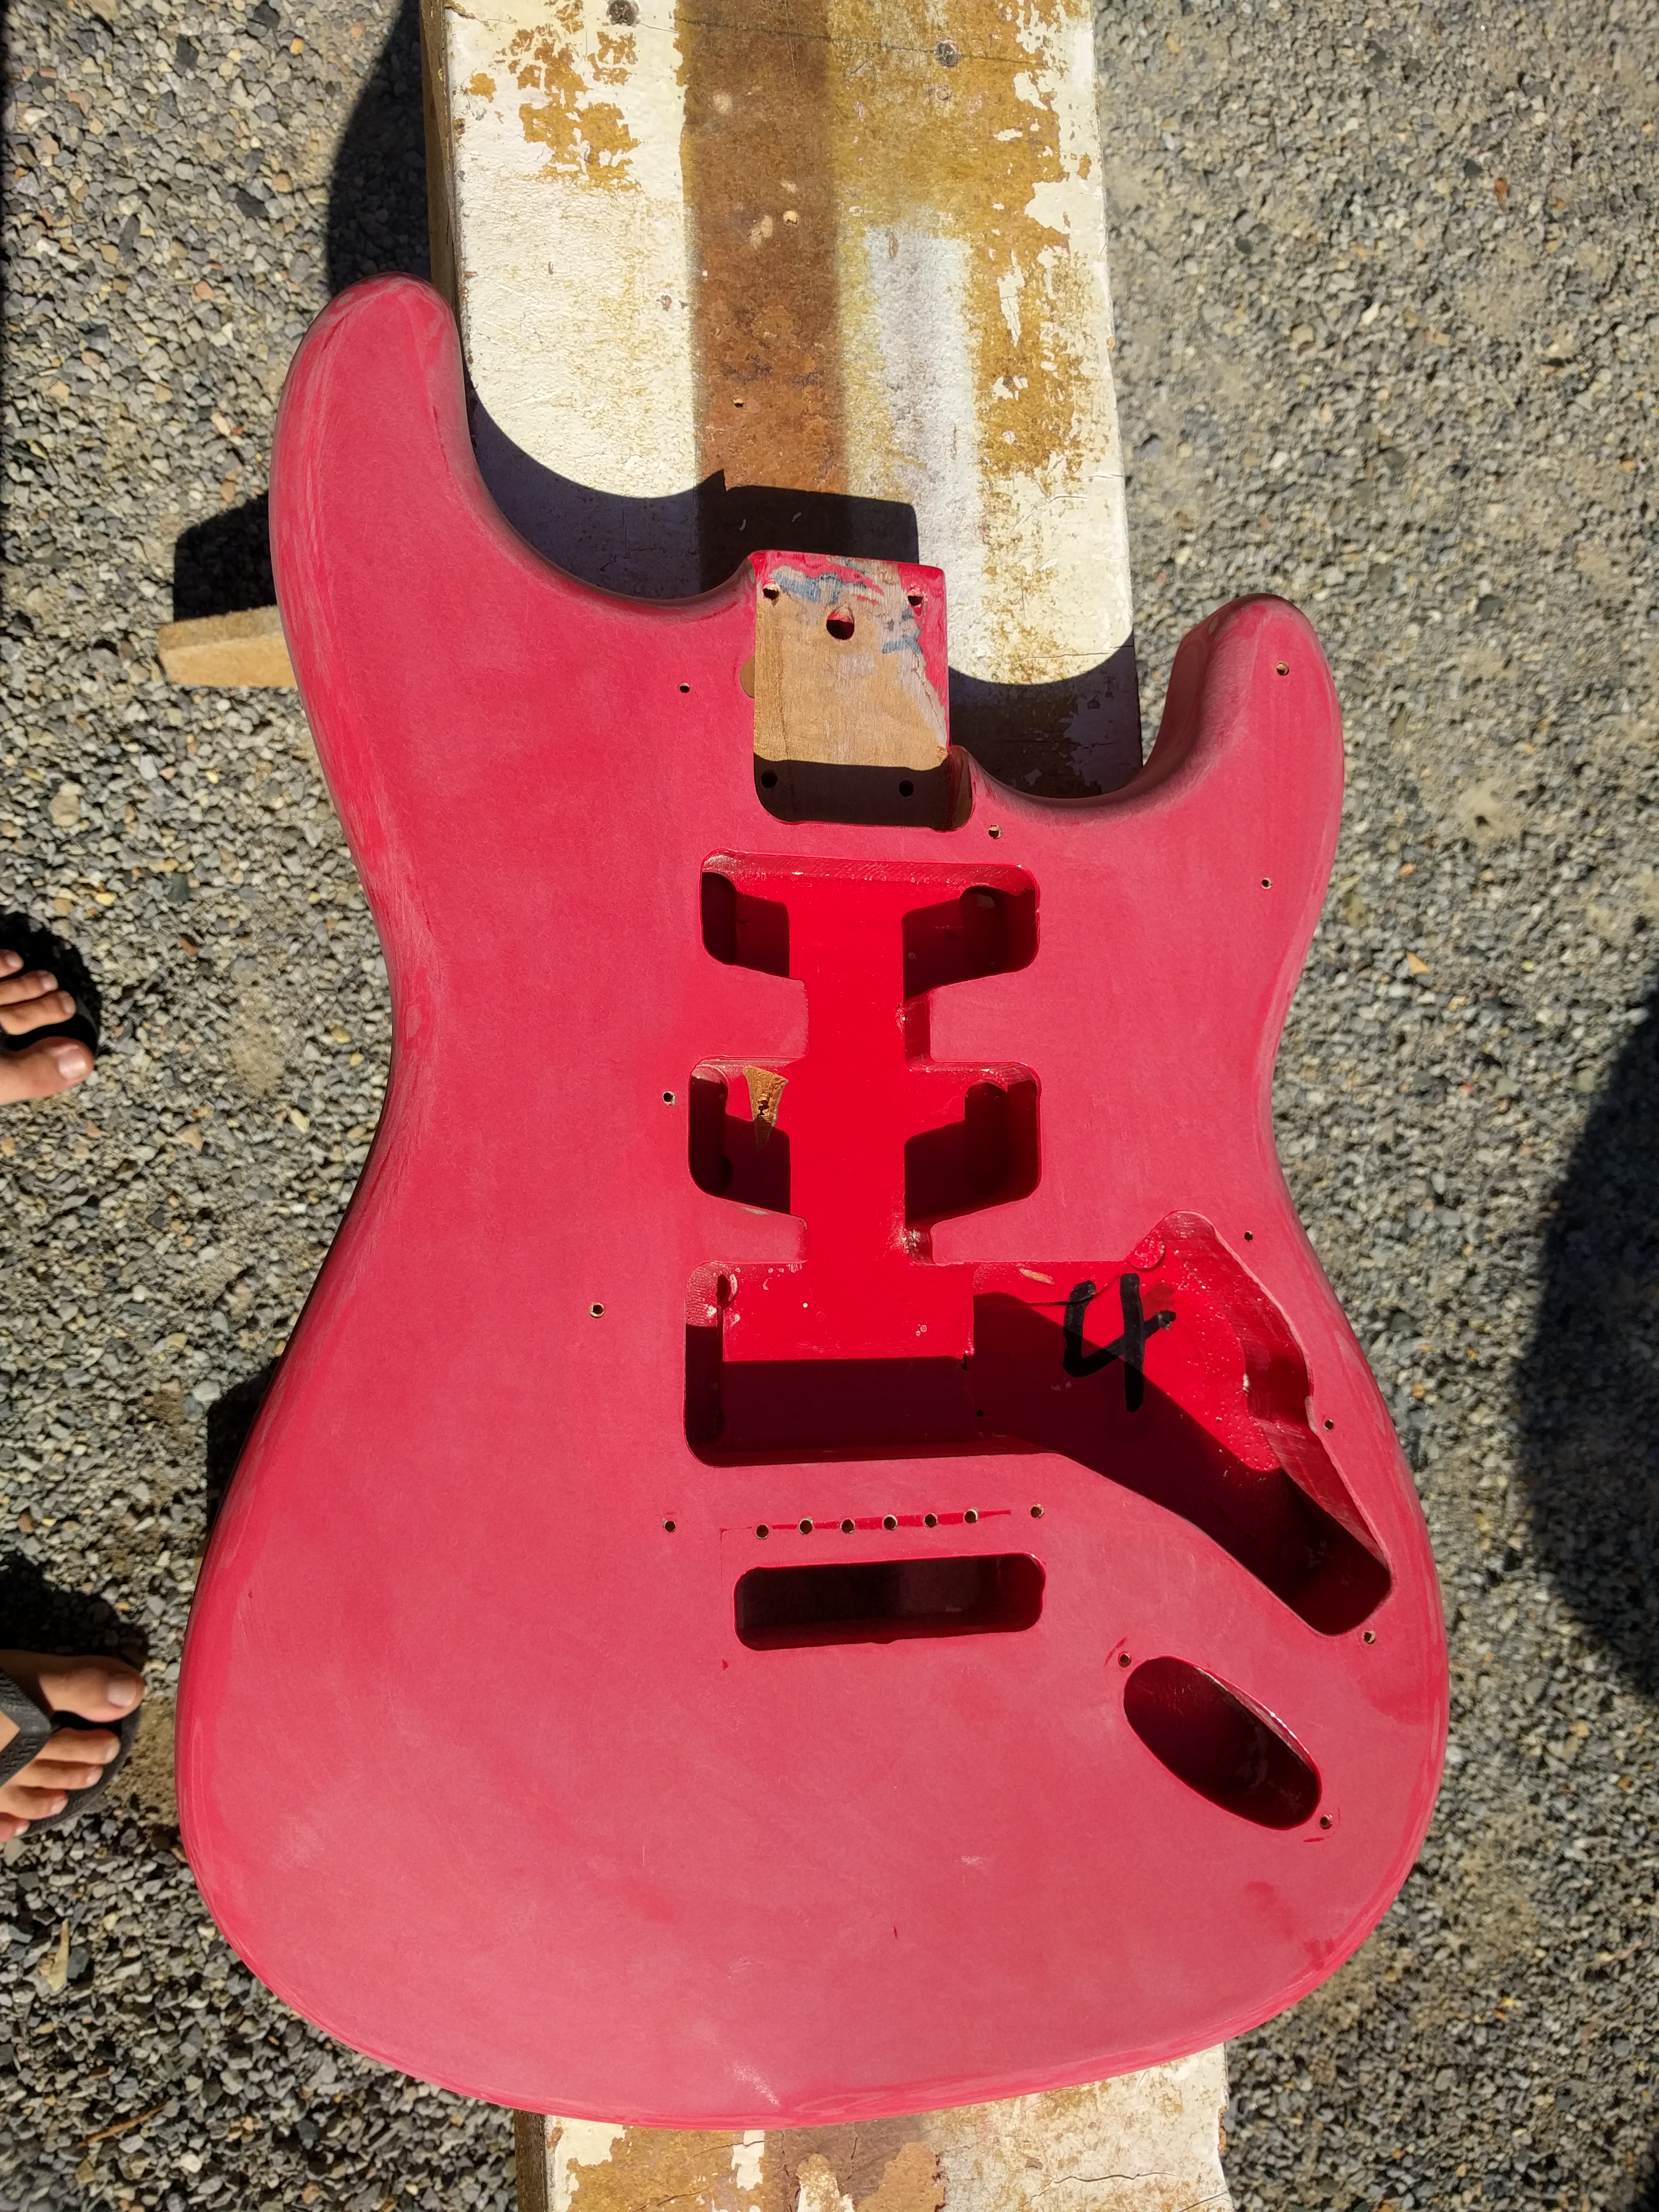
I decided to go with option 2 for a number of reasons. This seemed like a whole lot less effort that option 1, while it also meant that I would not have to apply a sealer to the body as the exiting factory wood sealer would still be in place. I began to sand down the body with a small electric orbital sander. This worked extremely well for the large flat surfaces of the body, however was still too large to get into the inside of the horns. After a few days, I had sanded the body back to a point where I had removed all of the factory clear coat from the body and was happy with how smooth the body was feeling (the photos below don’t really do much justice to the surface).

Sanded Body – Front
Sanded Body – Rear
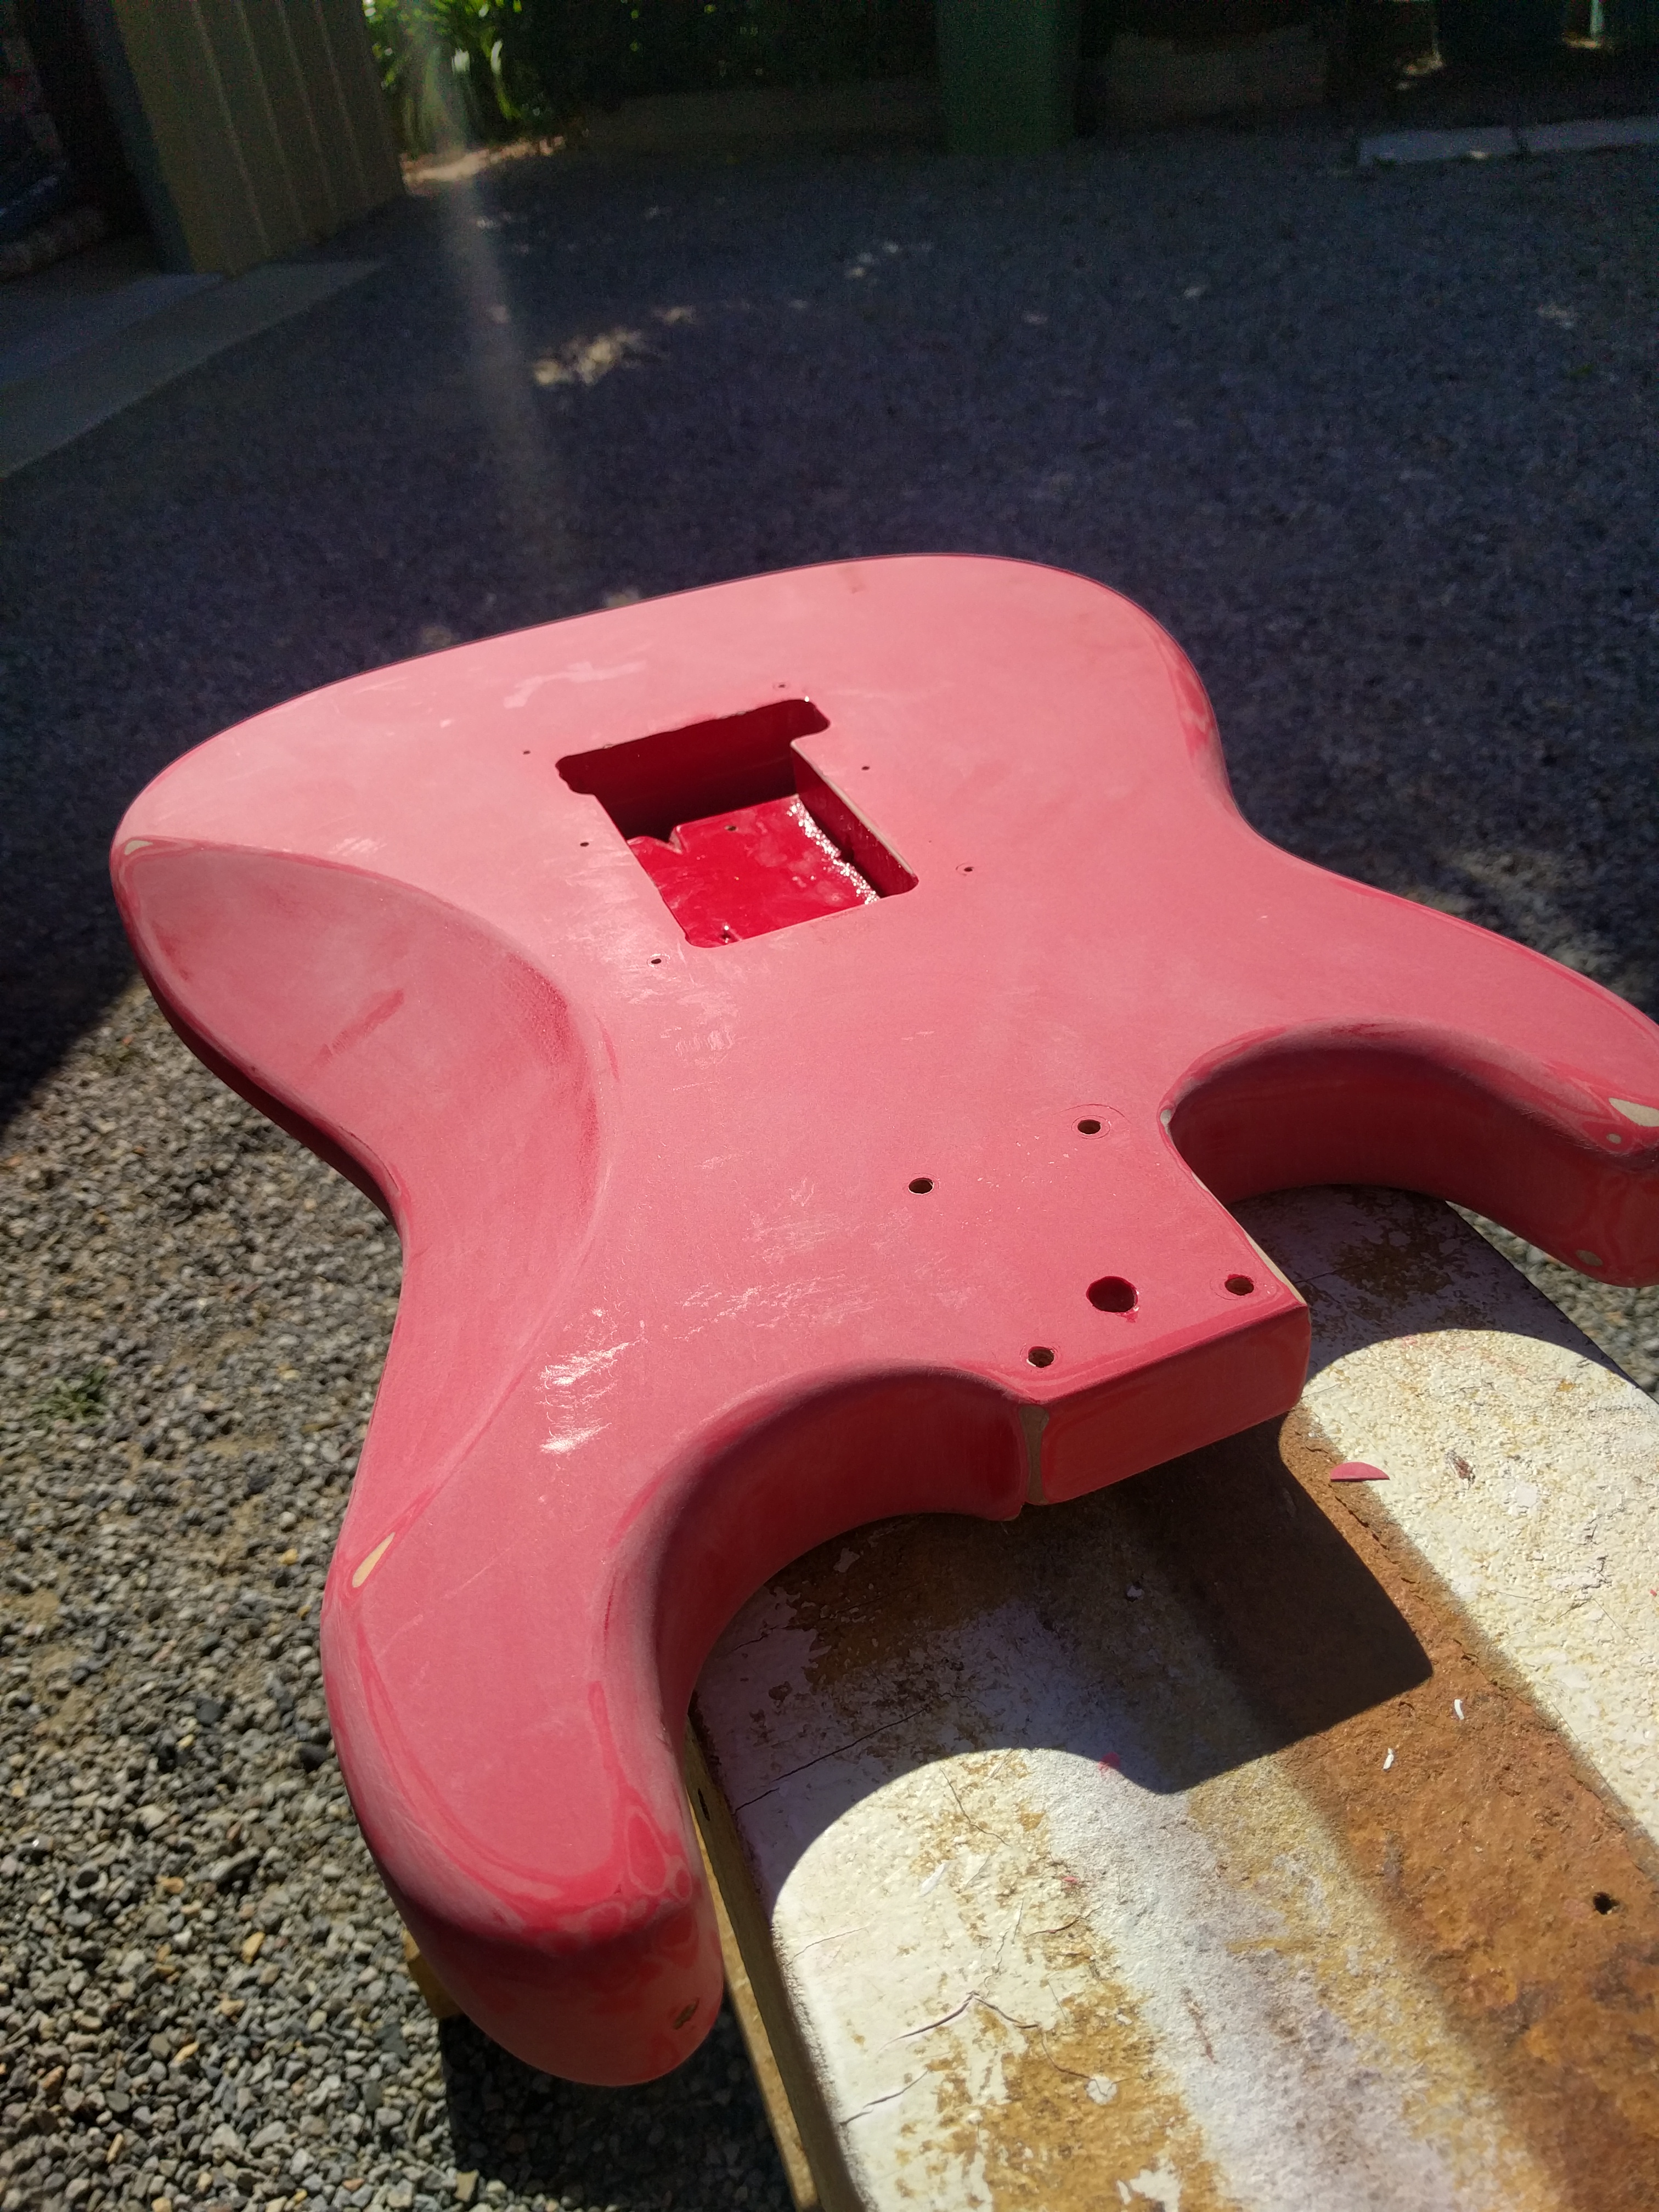
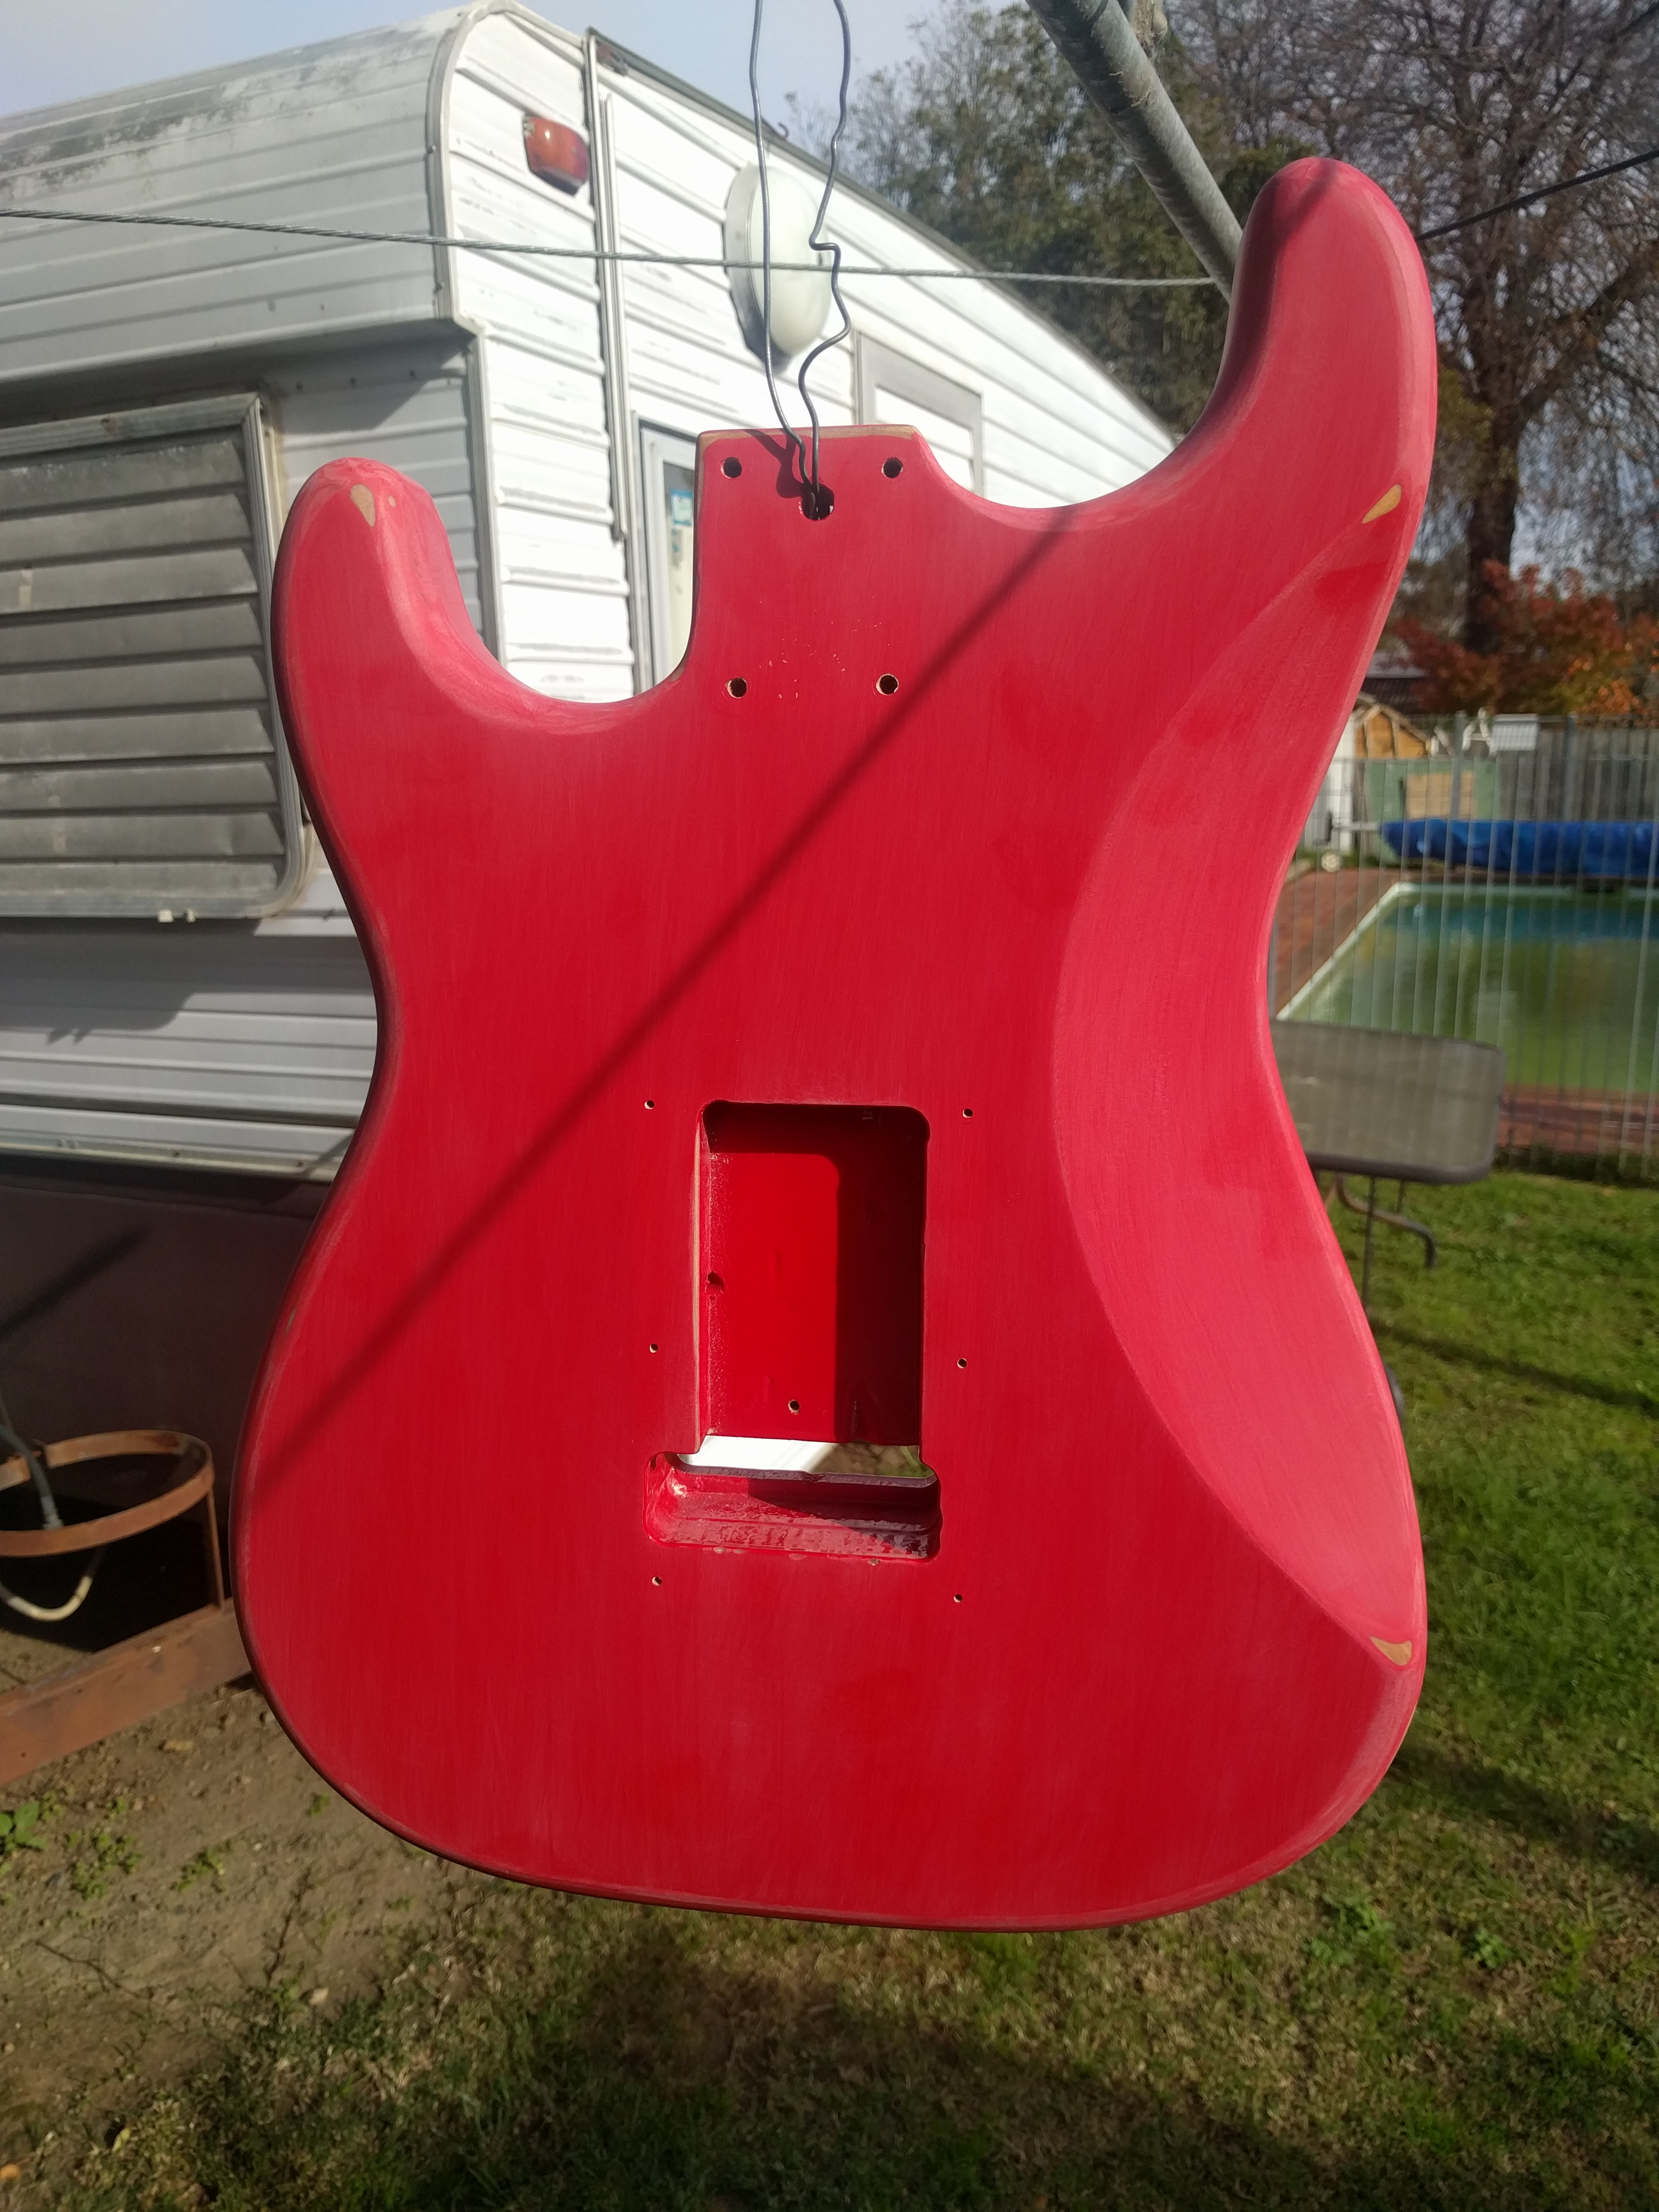
Before moving on to priming the body, I gave it one last once over with some 1200 grit wet and dry sand paper to smooth out any last remaining blemishes. I’m not entirely sure if this really had any effect, but I was happy with how everything had turned out so far. My next lesson was learning how difficult it was to apply even coats using a spray can. The first coat i applied was way to thick which resulted in the primer running down the body as I left it to dry.
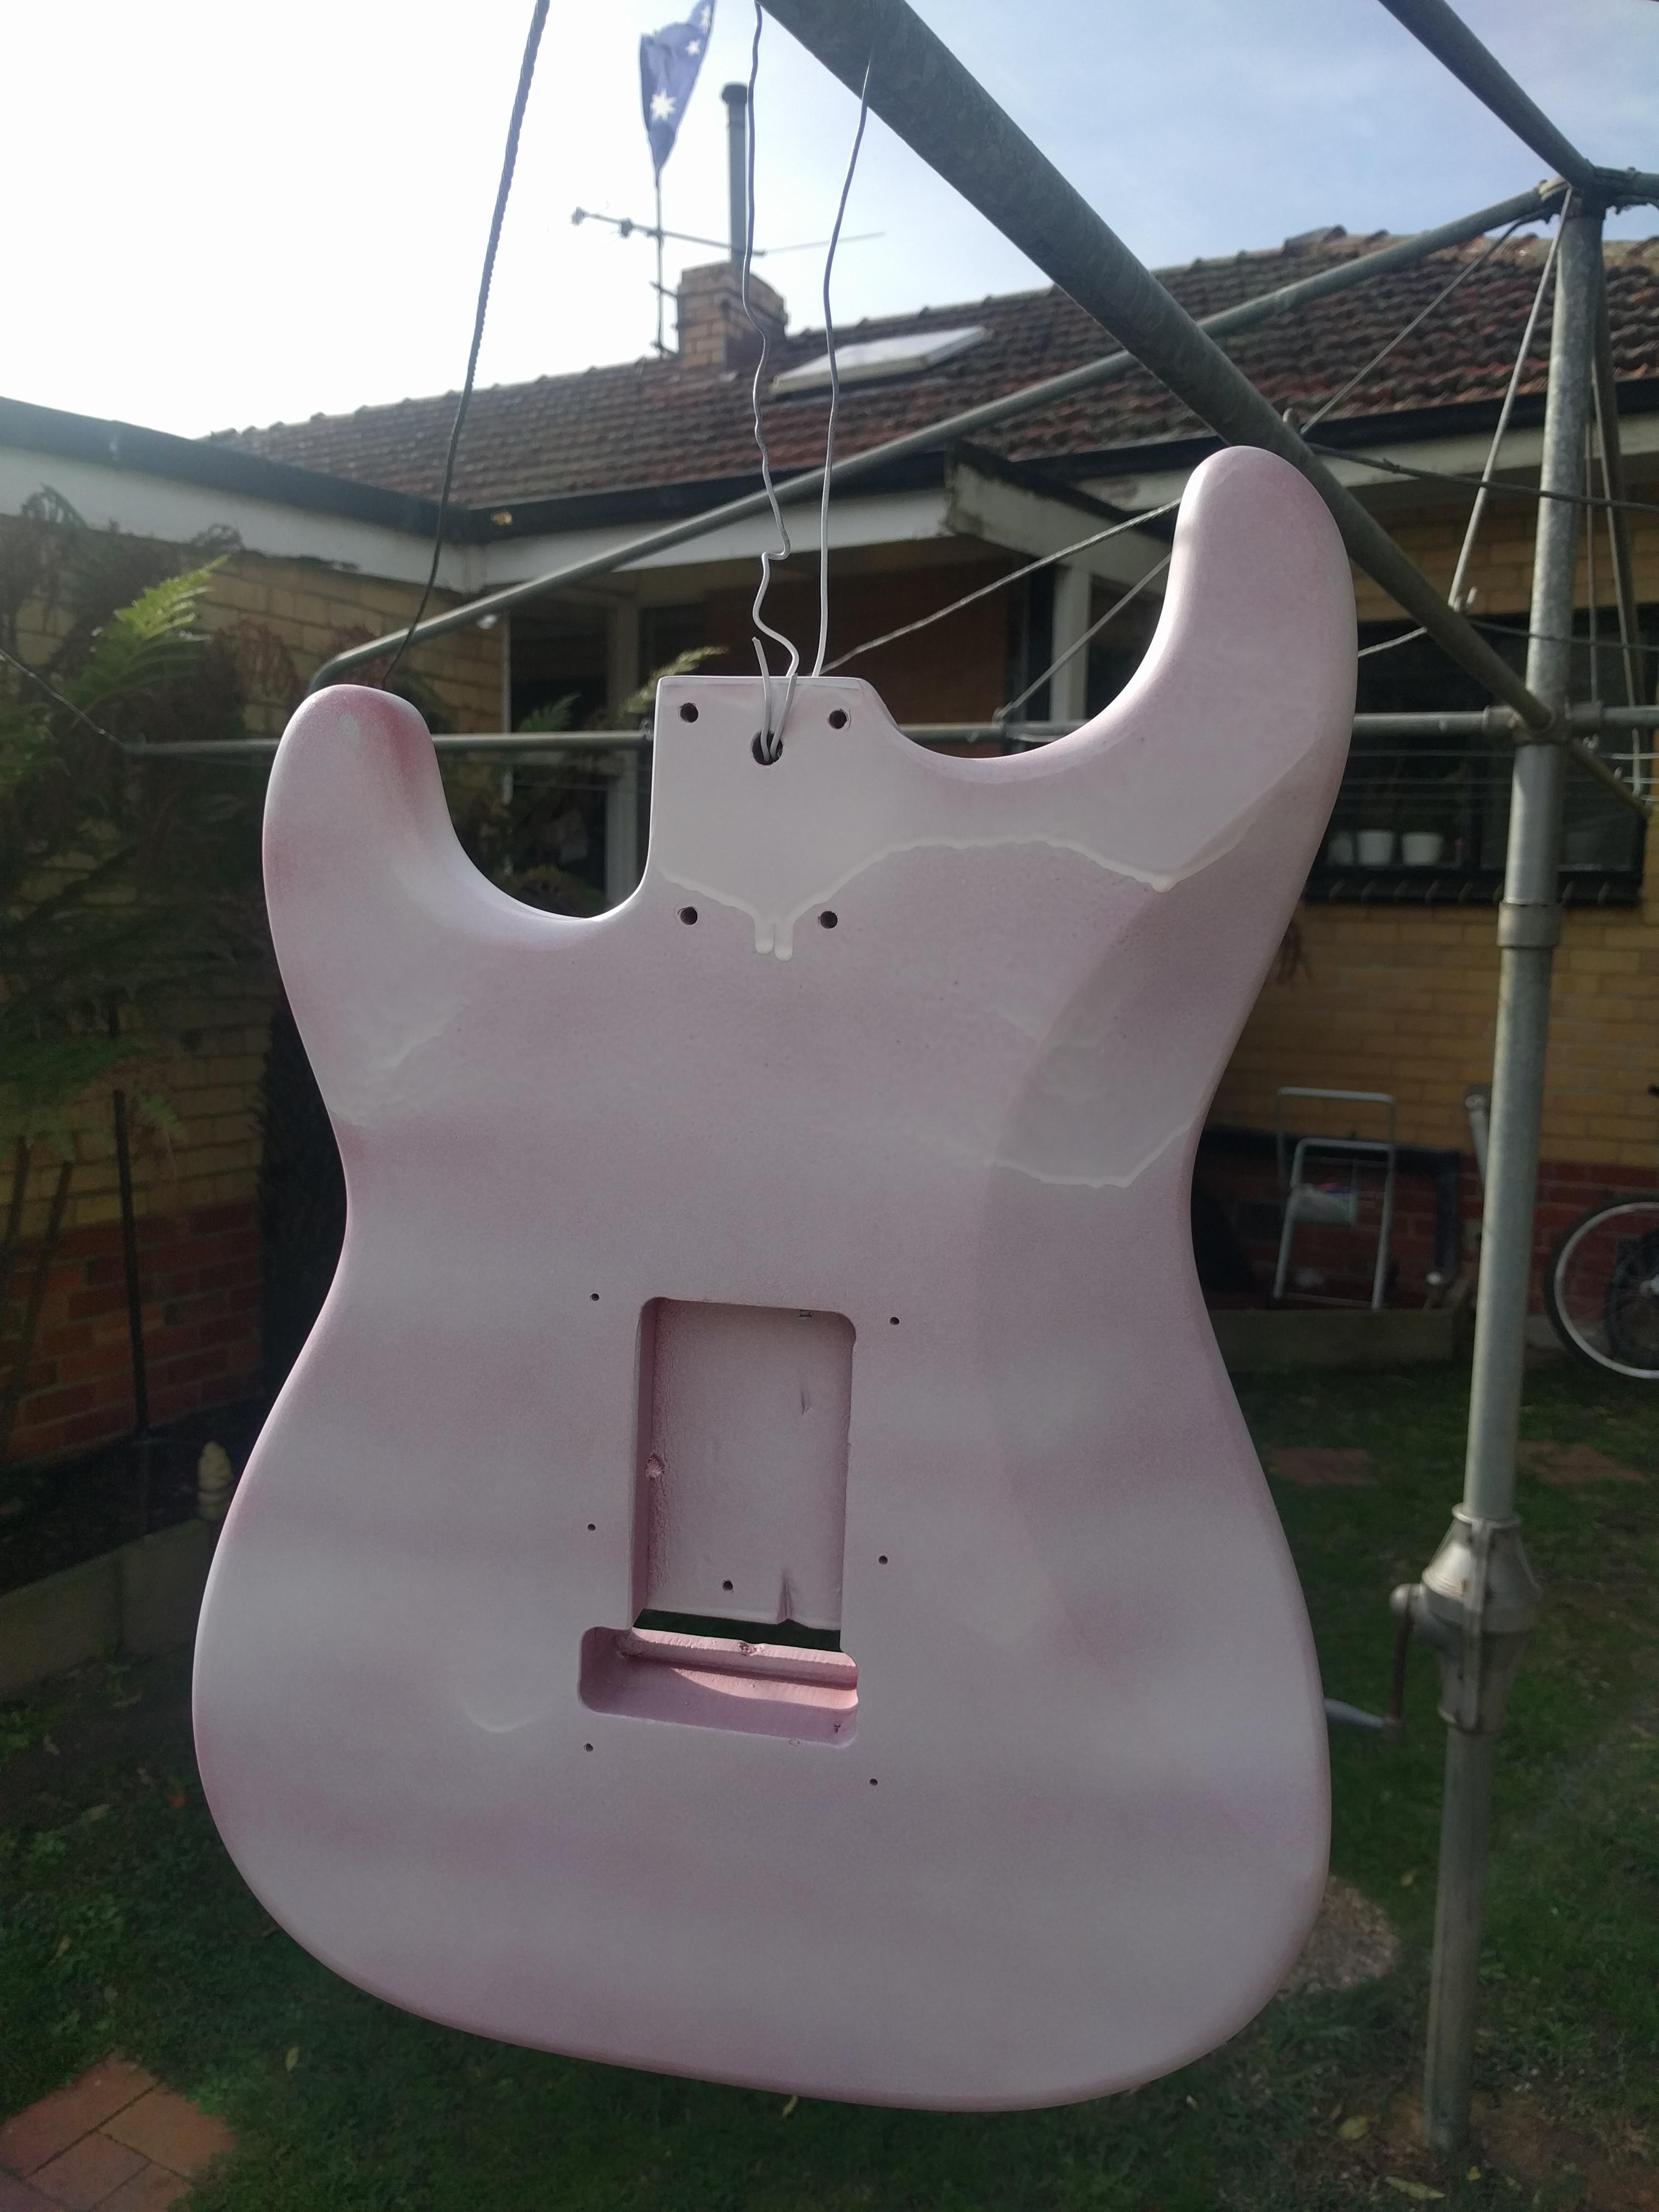
First failed attempt at applying primer
A quick once over with the orbital sander and another pass by hand and I was ready to start again. With a whole lot of youtubing and some advice from some forums members, I managed to get my technique sorted out. I think I applied a total of about 7 or 8 coats of primer overall. This is probably more than what is required, however the more coats I applied, the more more evenly I found they went on which meant less sanding before moving onto colour!
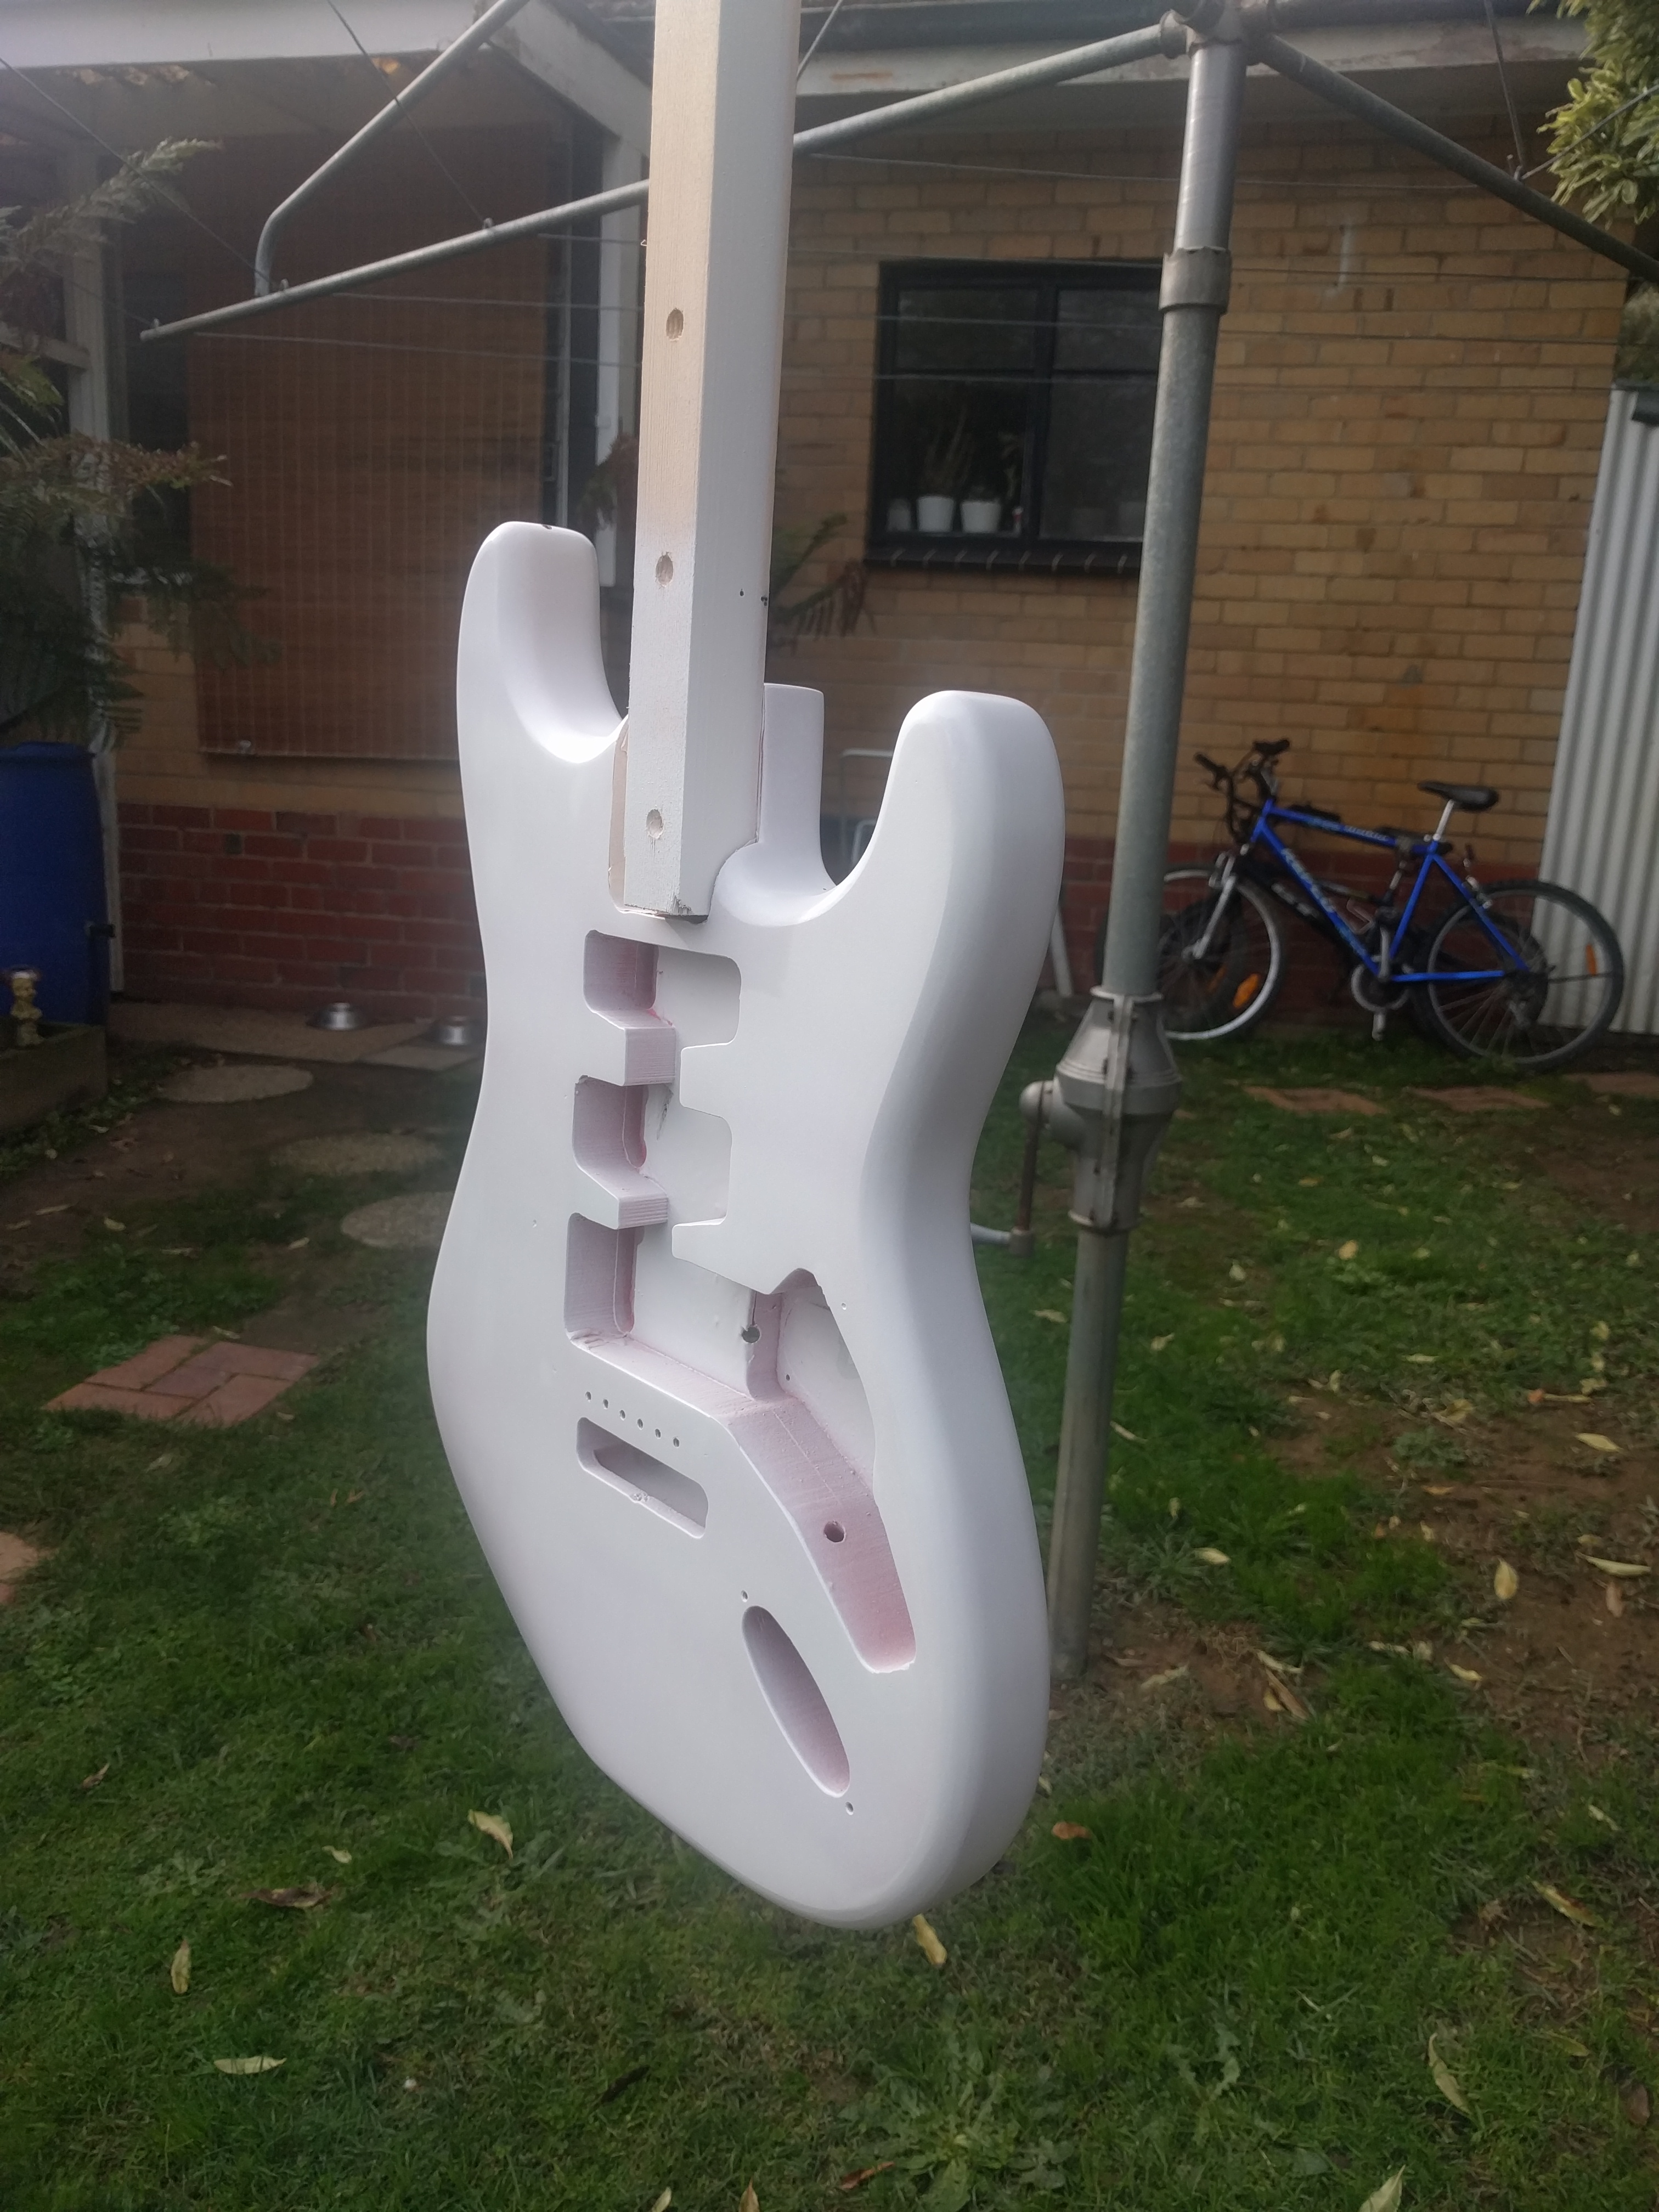
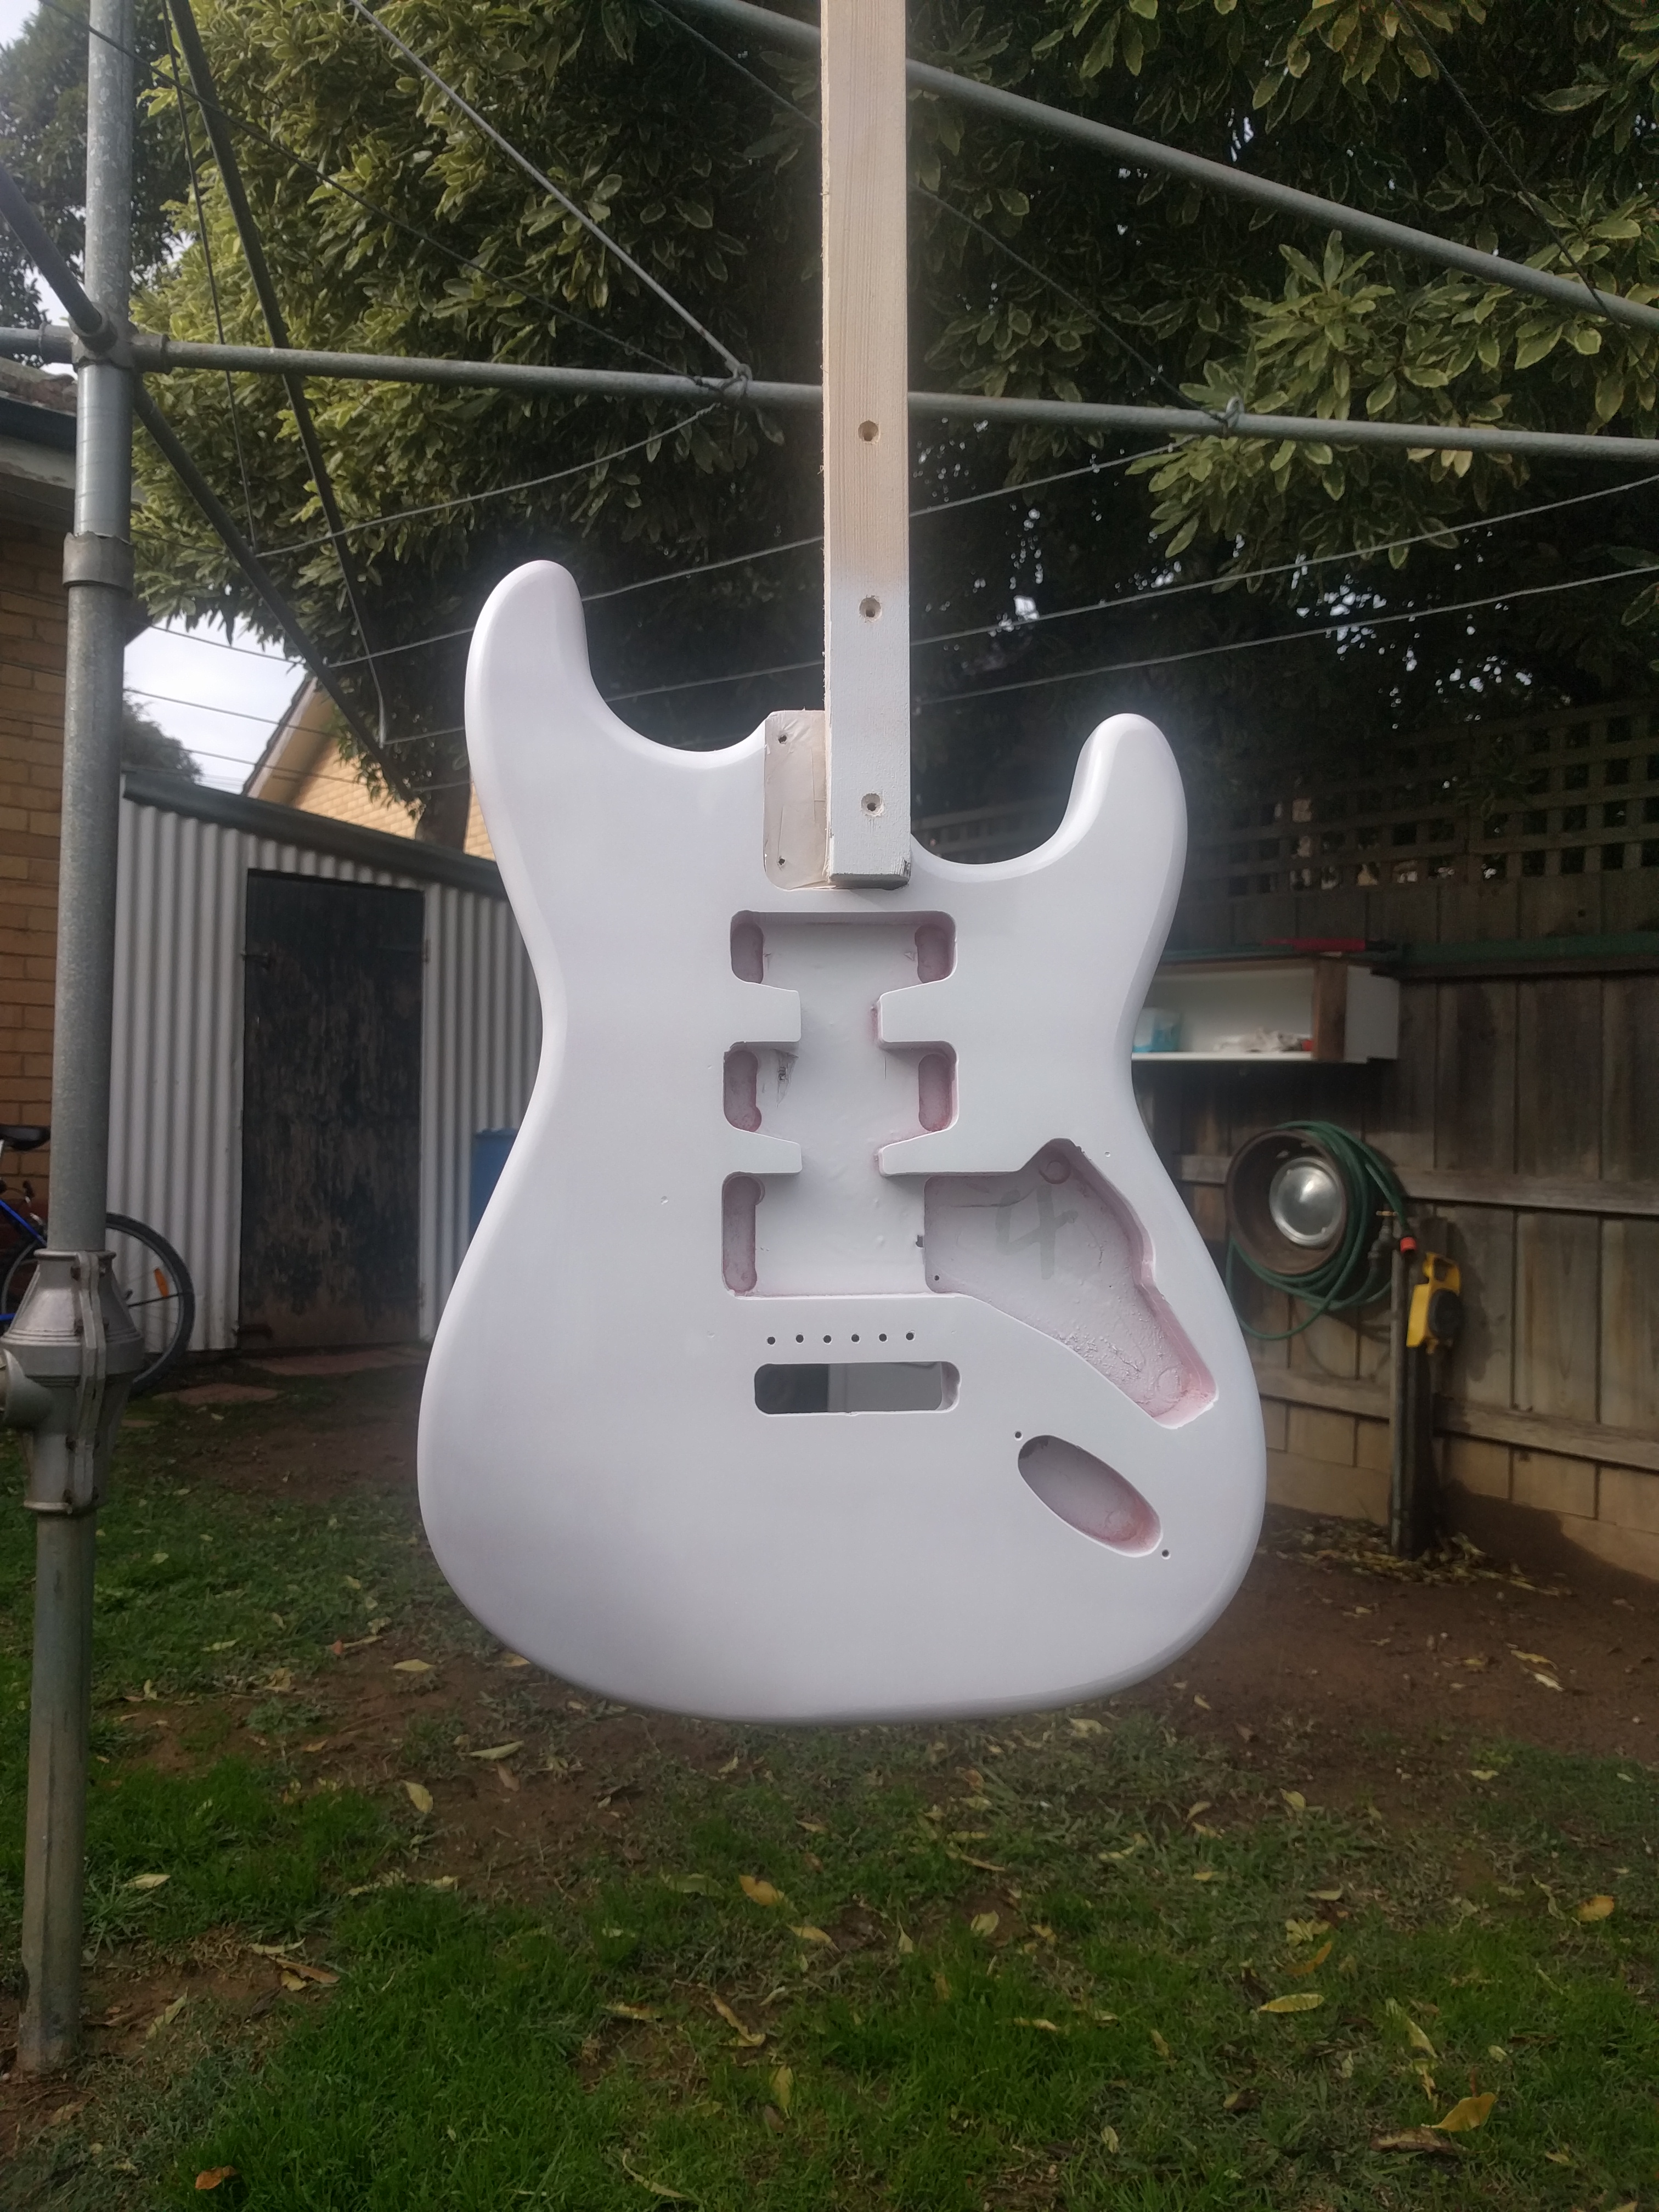
Body primed and ready for colour
I also decided that I would paint the headstock of the guitar to match the body. I gave this a quick once over with the orbital sander and masked off the areas of the headstock that would remain unpainted. I decided that I would only paint the front face, leaving the back and sides the factory original wood finish.
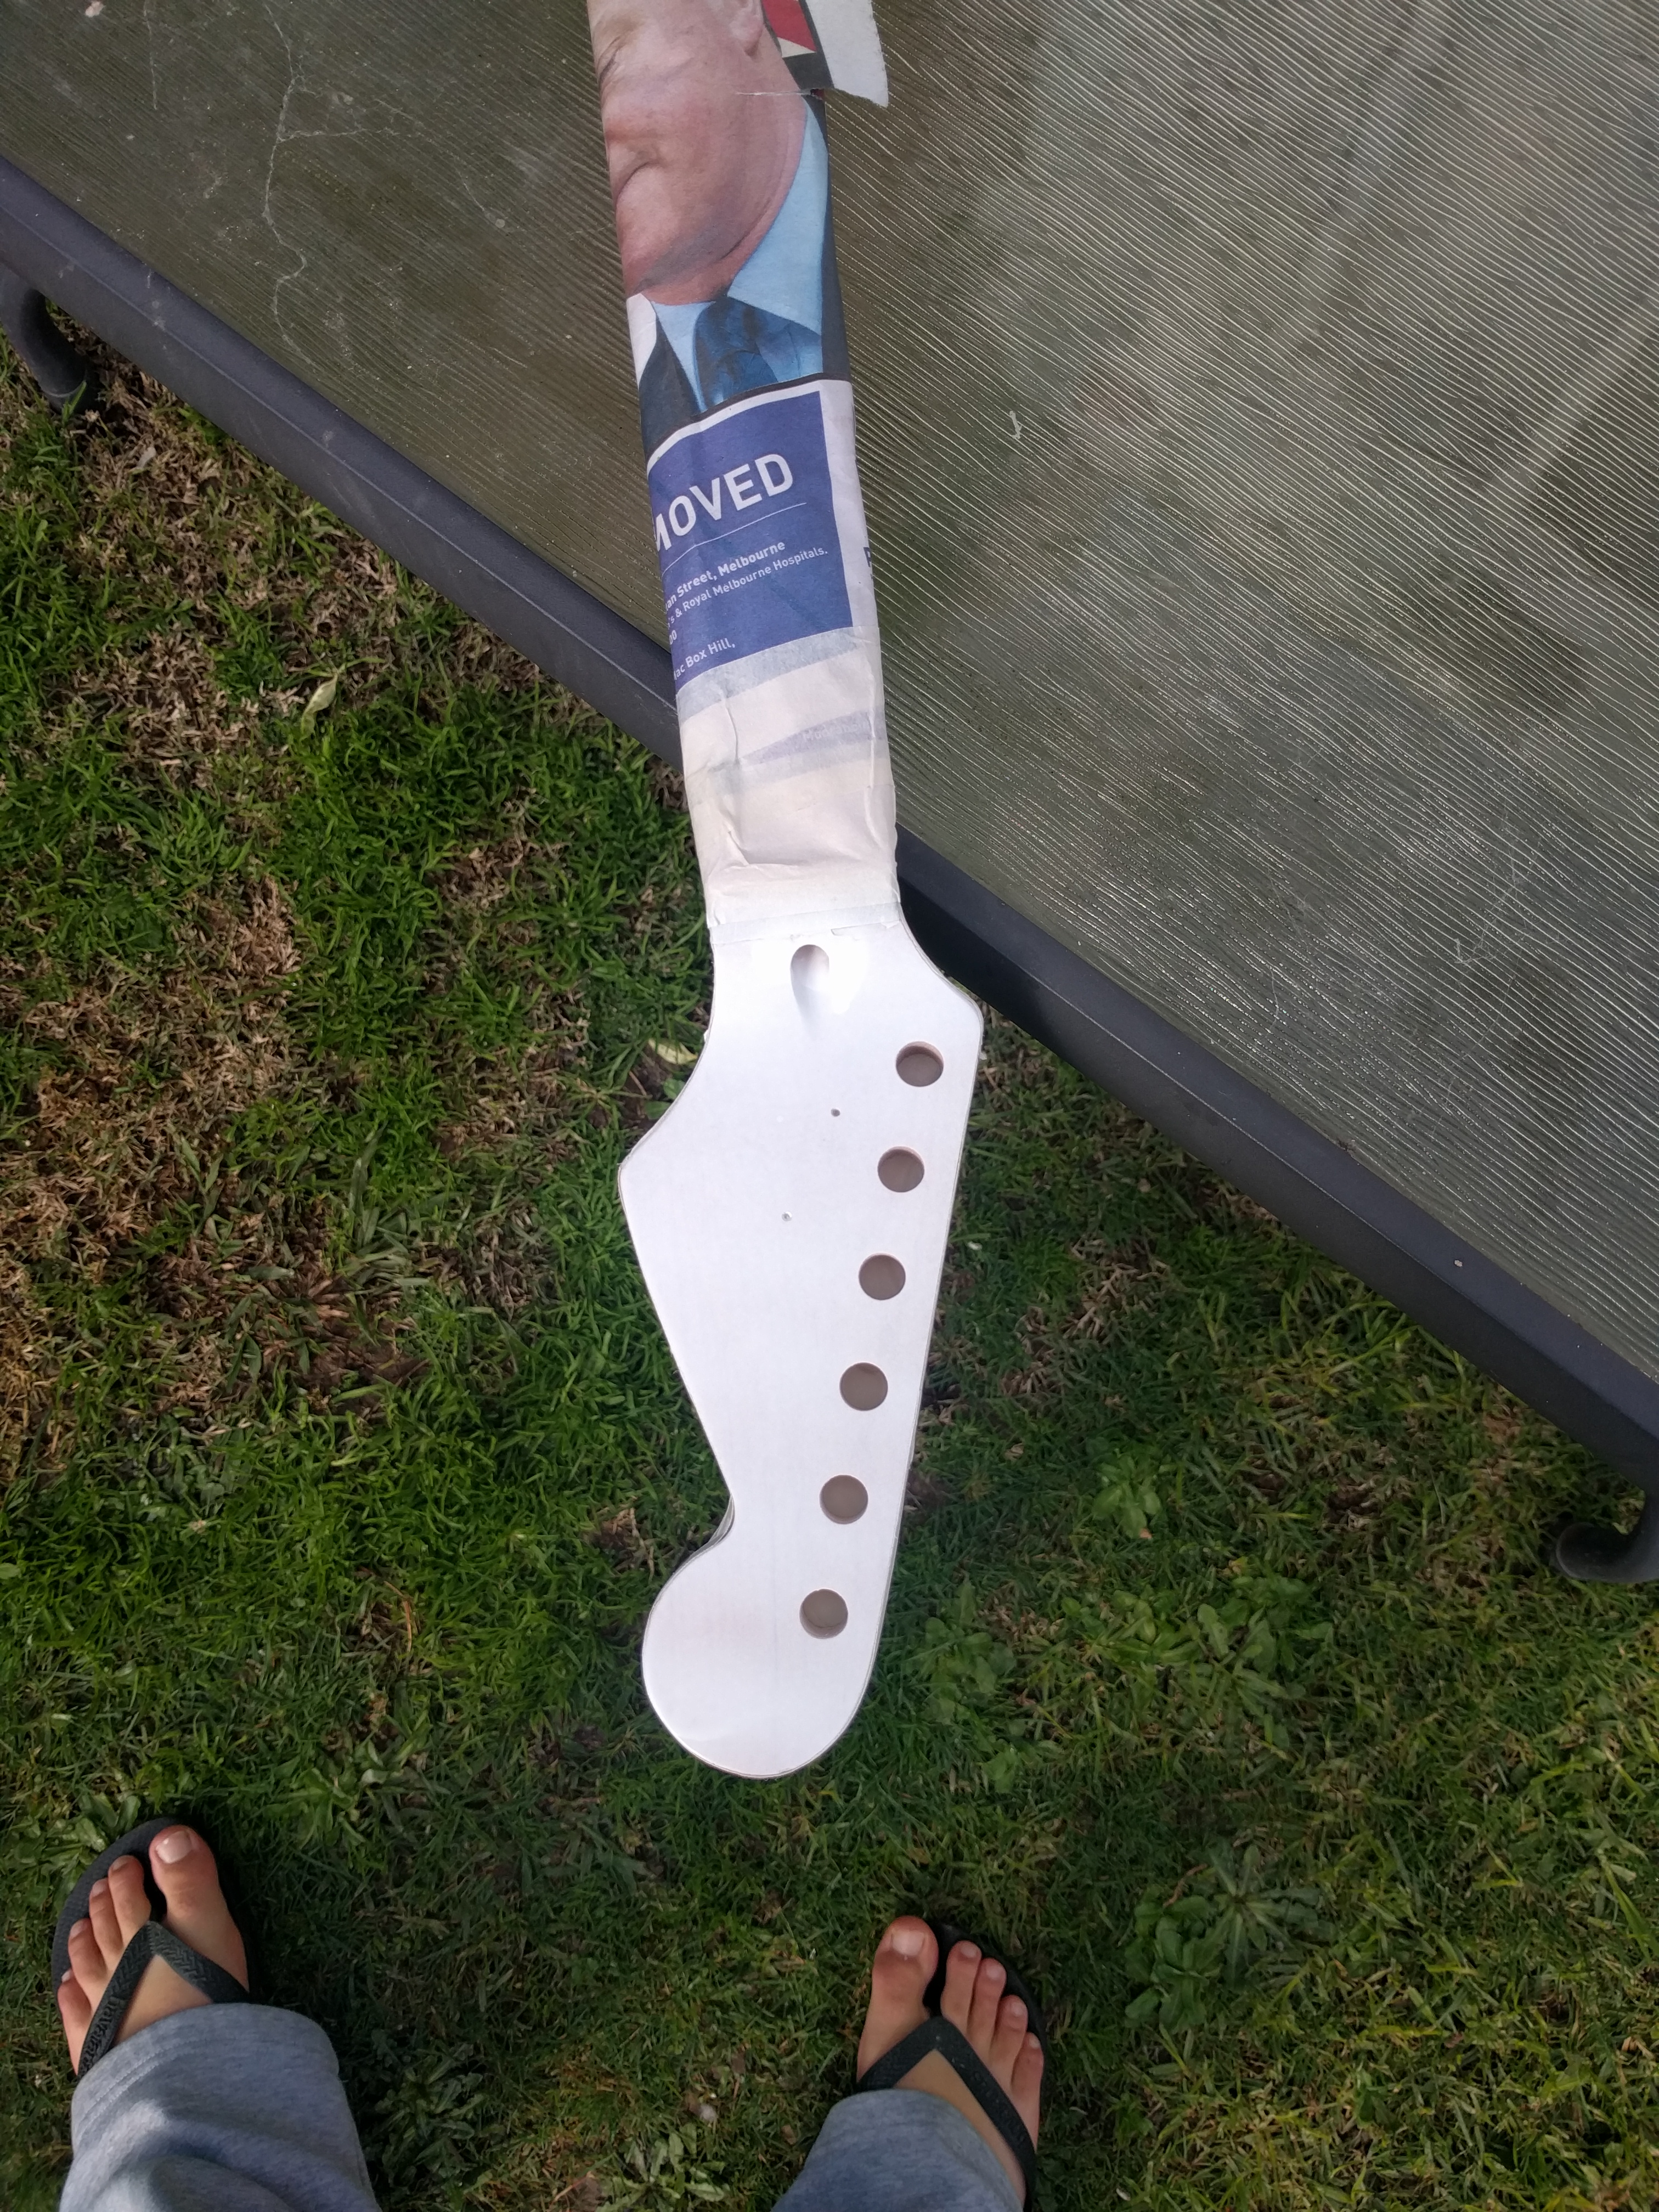
Headstock masked and primed
Now that everything has been primed, it is time to move onto colour. Just like the Tom Delonge signature model linked in my first post, I’m thinking green!