After a bit of research into the best way to establish the natural wood tone look for the guitar, I eventually decided that Danish Oil would be the best way to achieve the look that I was after. I was happy with the natural color that Danish Oil left the wood after being applied, and the application process was extremely straight forward.
I began by making myself some applicators for the oil out of a cut up old white t-shirt. As you can see in the below image, these were simply rolled up balls of t-shirt held in place with elastic bands that worked perfectly to apply the oil while minimising the mess.
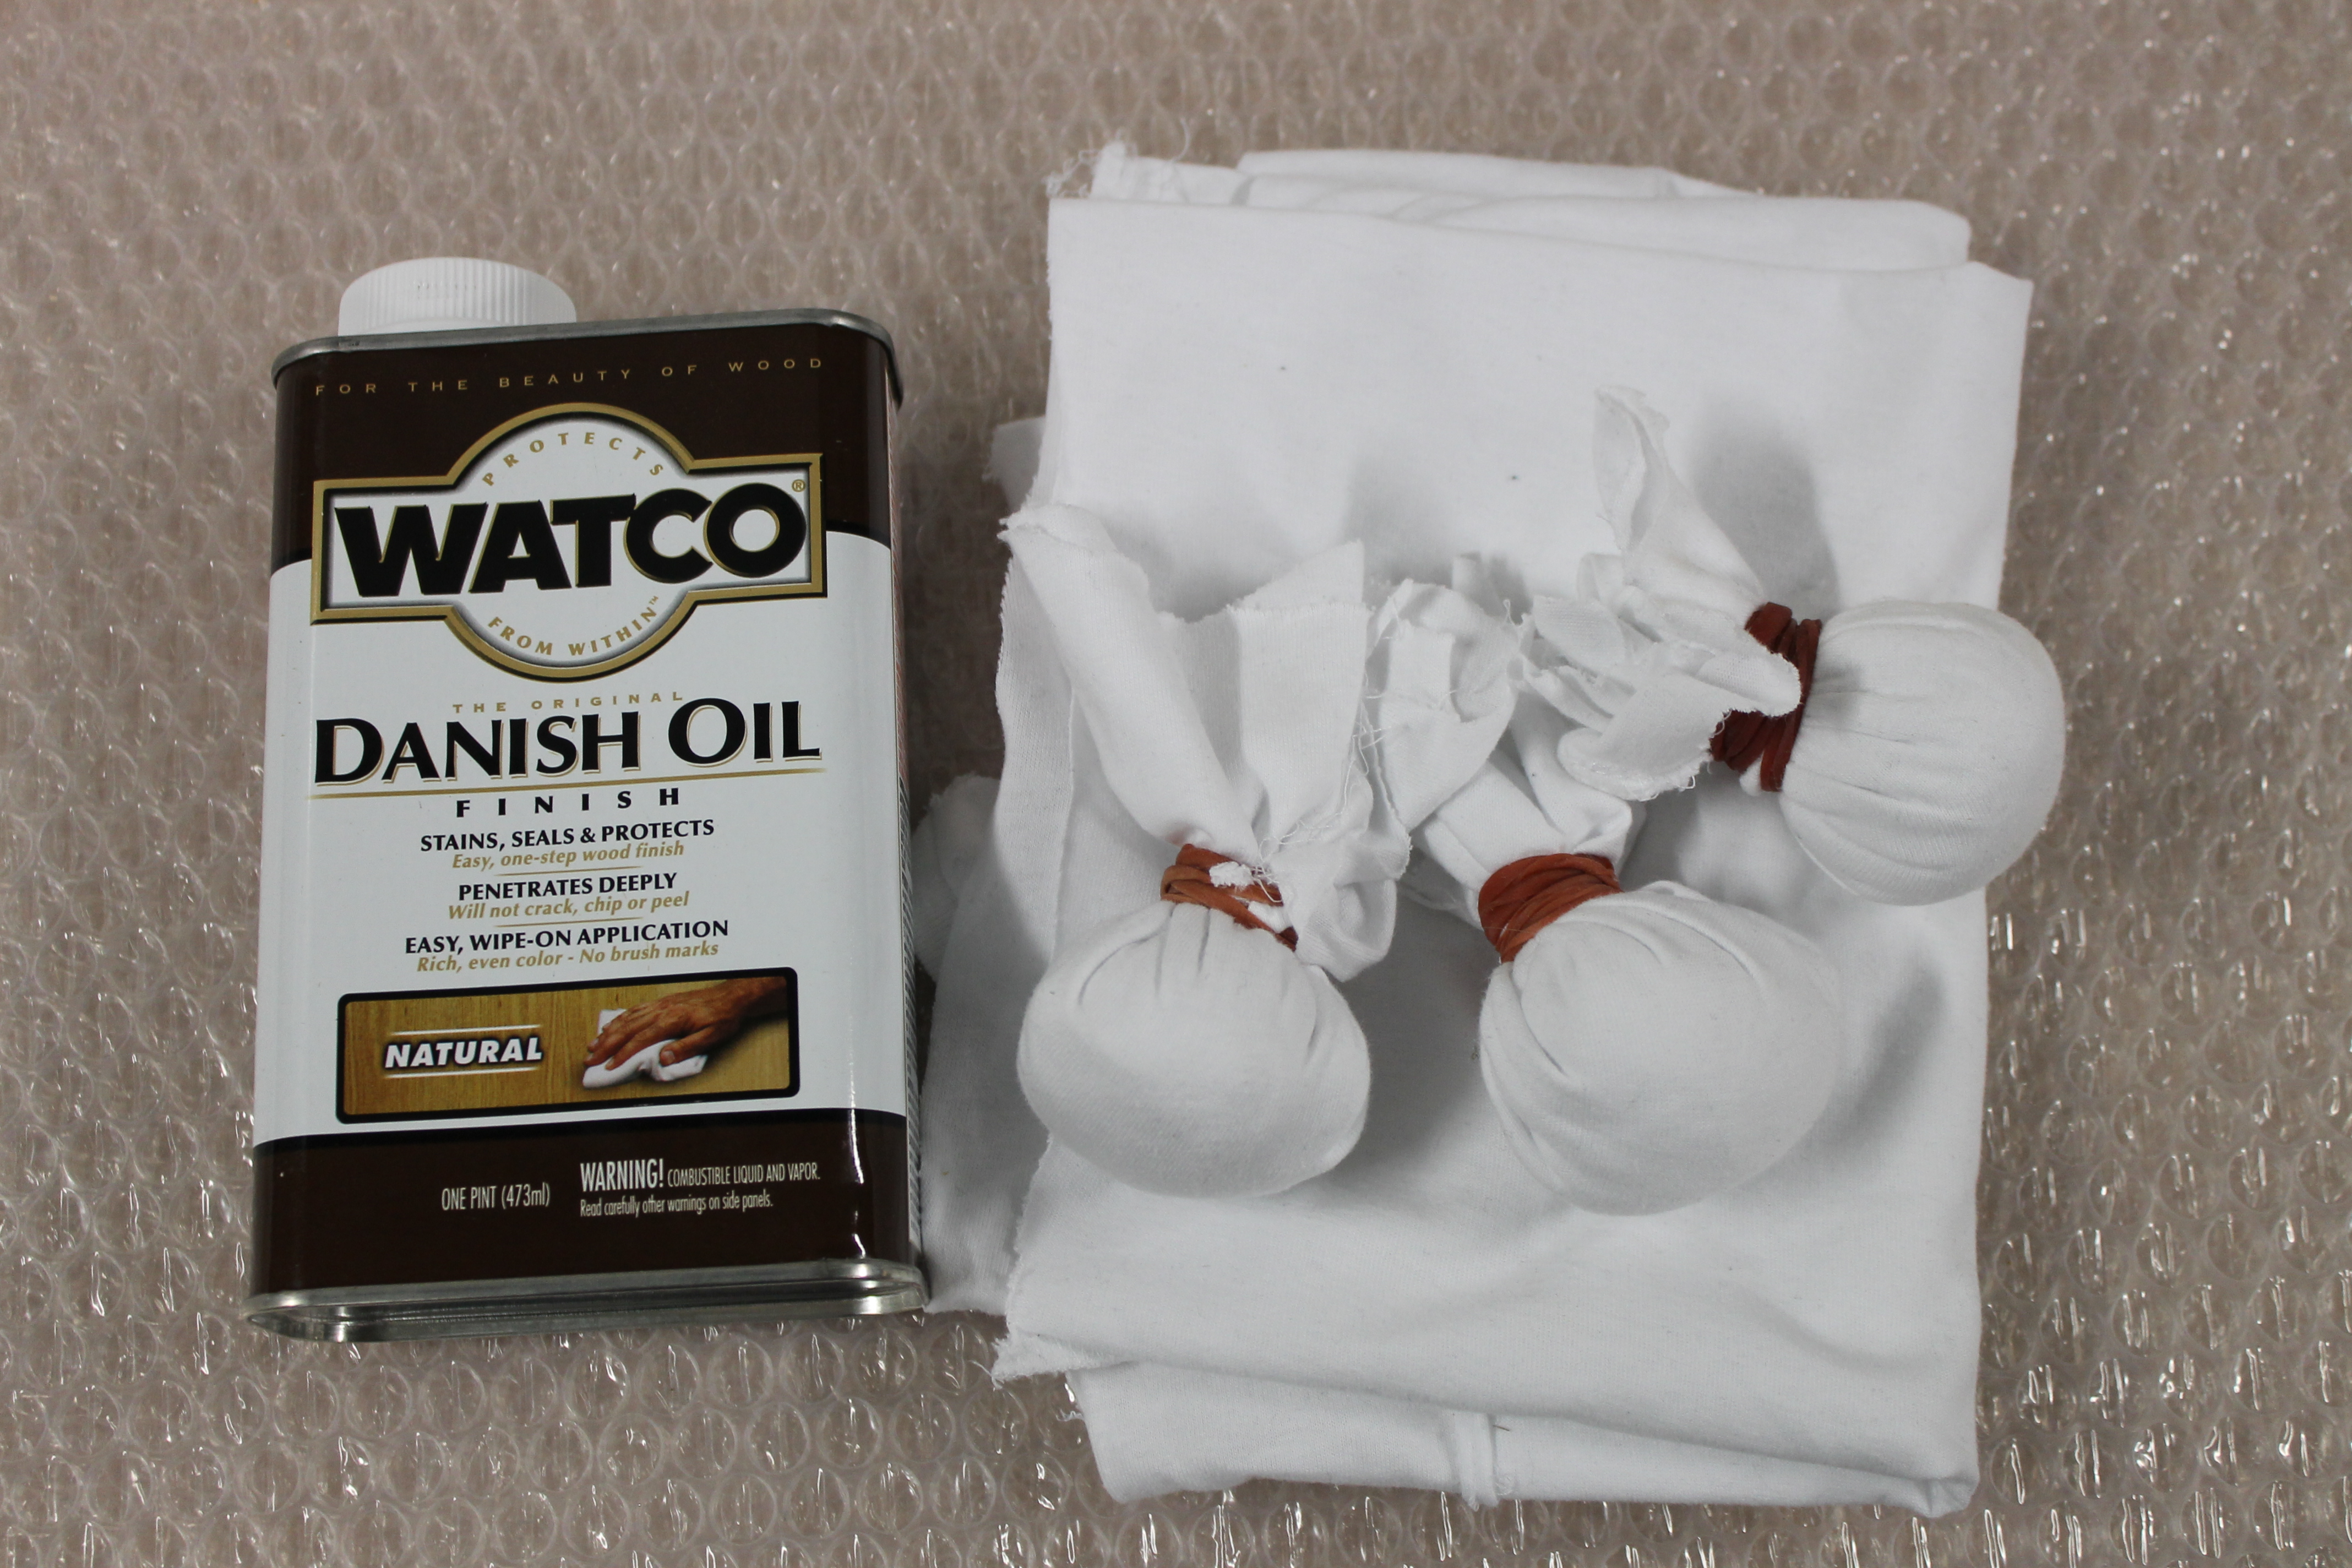
Danish Oil and applicators.
I began by applying a thick coating of the oil to the rear of both the body and neck of the guitar and allowed a couple of hours to soak in before repeating the process a further 2 or 3 times. After allowing these coats to dry for approximately 24 hours, I realised that the oil had slightly raised the grain of the wood giving it a rough feel when touched. To fix this I got myself some extremely fine 1200 grit wet and dry sandpaper and gave the body a quick once over which smoothed everything out, after which I gave the body another coat of oil. In all I applied approximately 5 -6 coats of Danish Oil and I am extremely happy with the results.

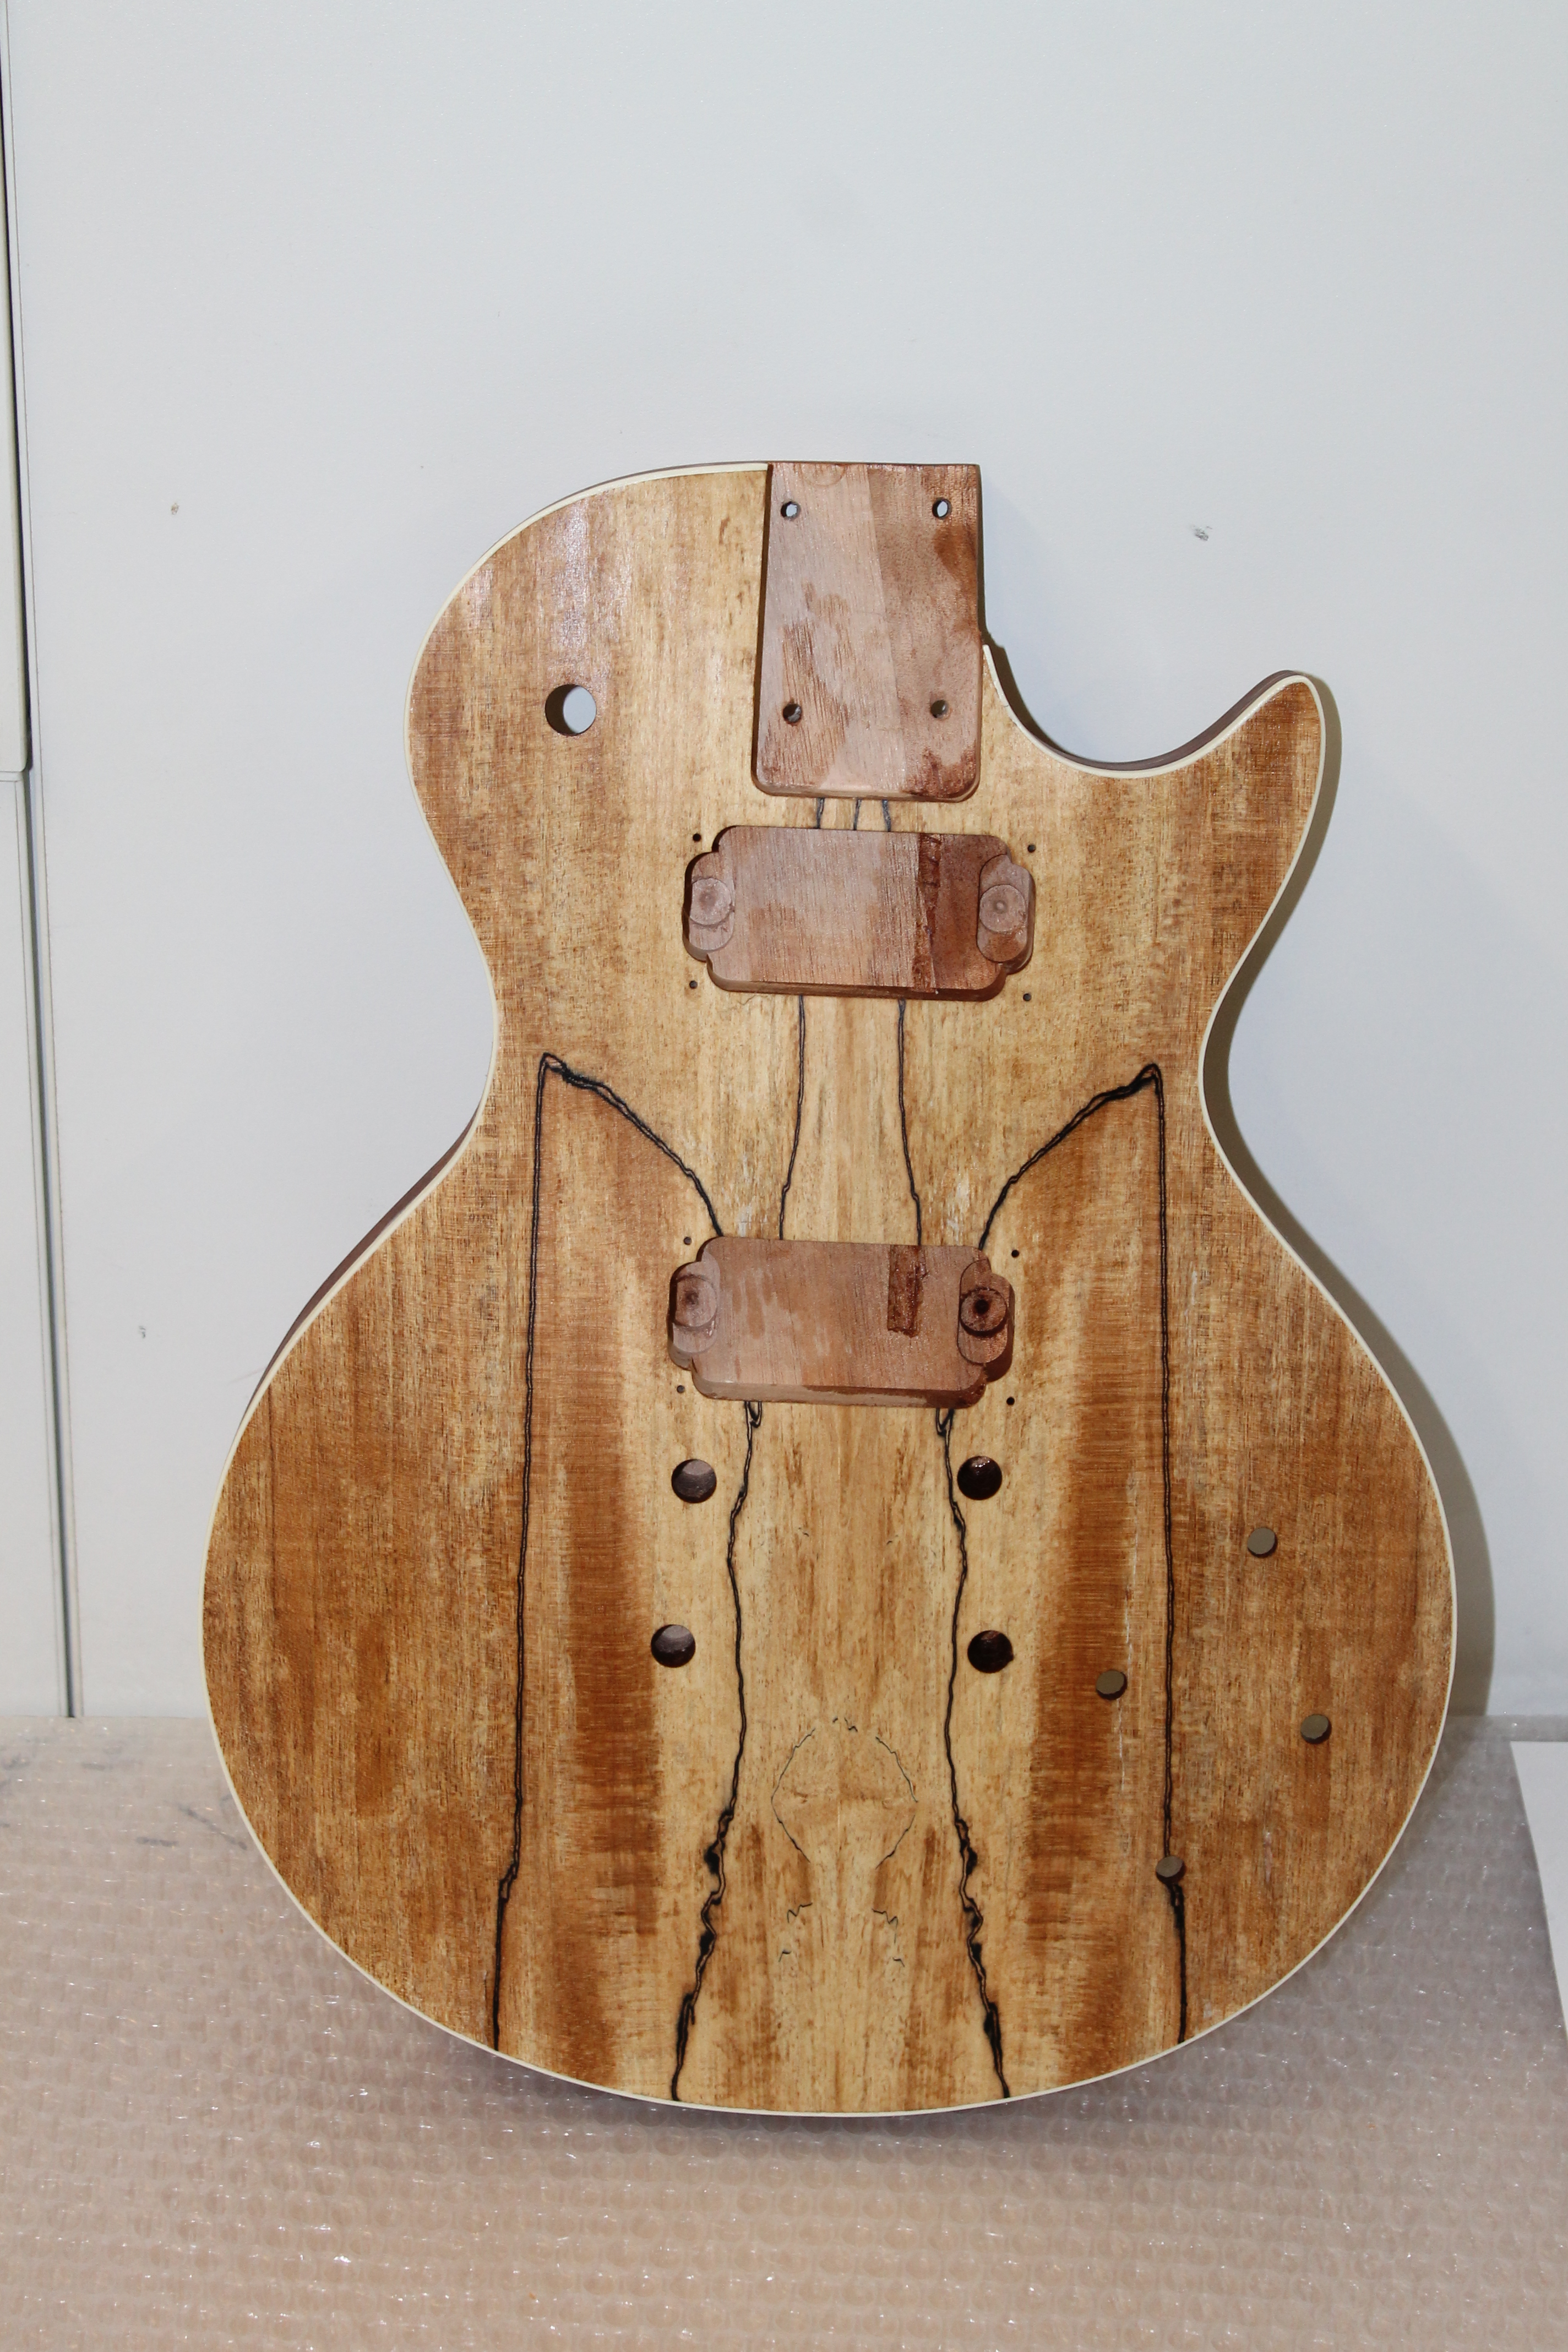
Rear of the body coated in Danish Oil

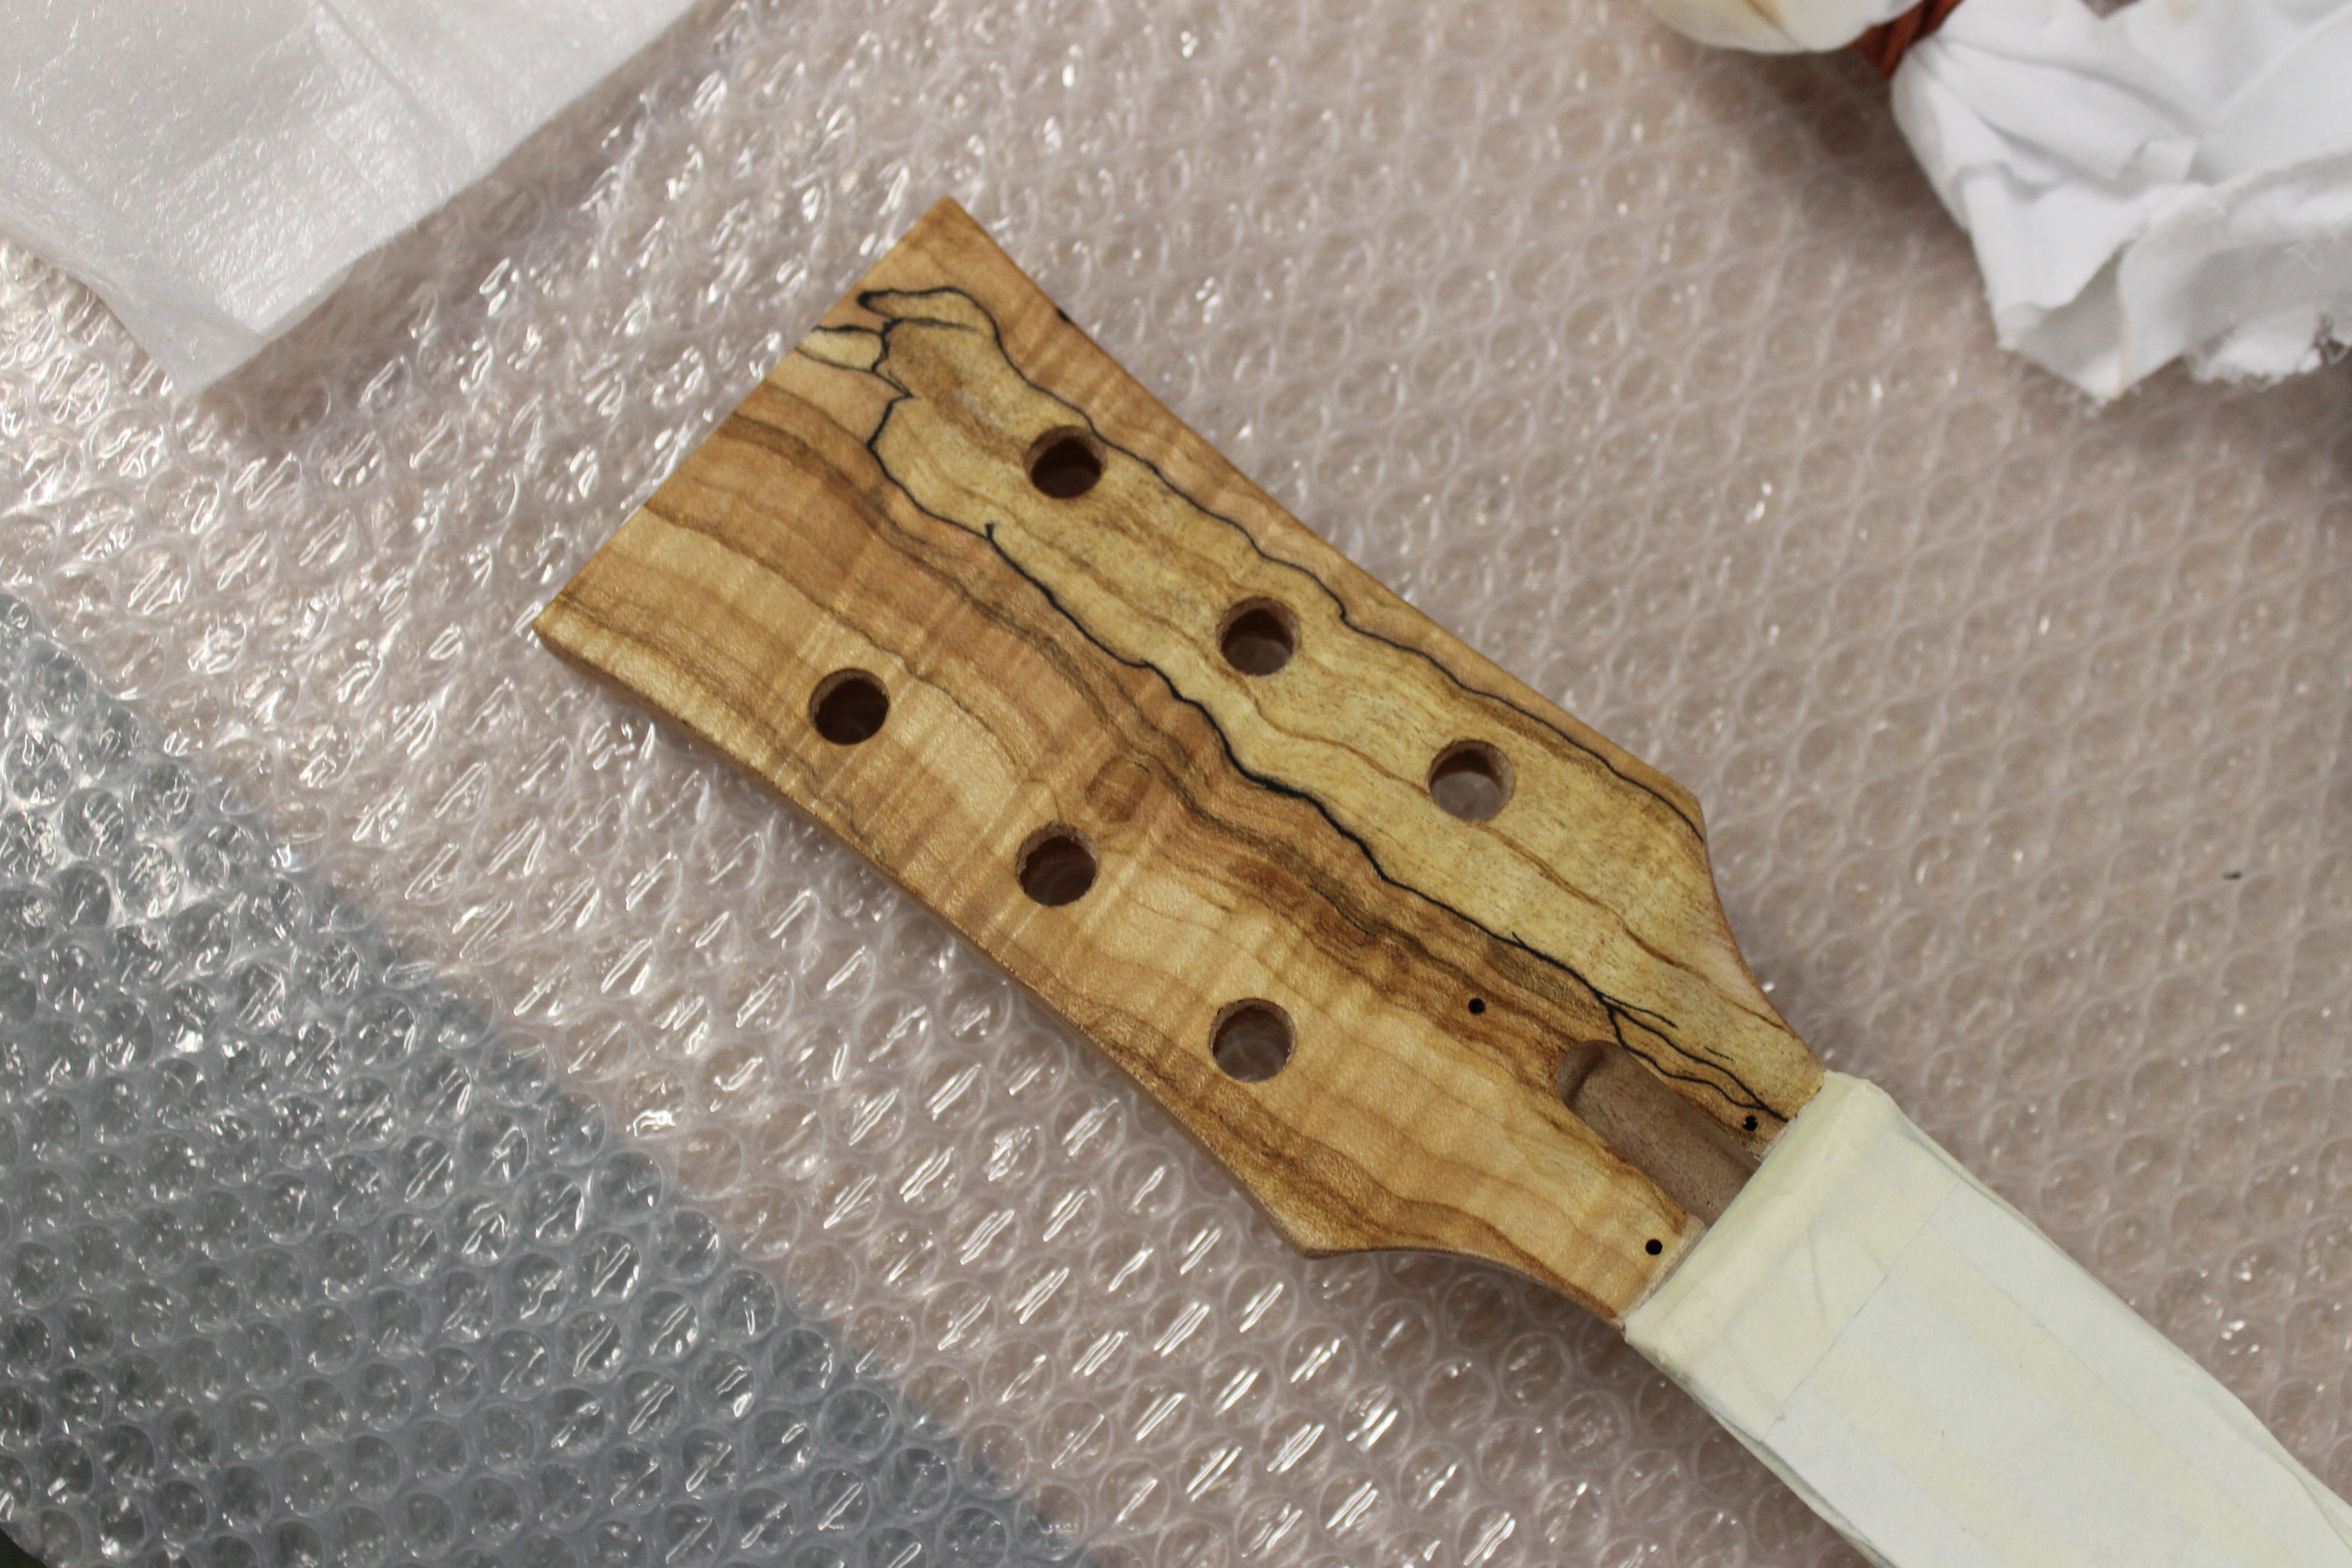
Rear of the headstock coated in Danish Oil
Once I had left the already oiled pieces to dry for approximately 48 hours, it was time to move on to the figured face of both the body and headstock. I followed a similar process to the rear of the guitar in regards to the application, however I did have to do a little more work with the wet and dry sandpaper to smooth everything out on the front.
Front of the headstock finish with Danish Oil
Spalted Maple figure finished with Danish Oil
Overall I am really happy with the results after finishing with the Danish Oil. It really managed to bring out the grain on the face of the guitar while keeping the natural look inline with what I was going for. The oil does provide a very low sheen across the wood, however I think I am going to go ahead and apply a clear lacquer to the body and neck to give it a high gloss shine and also protect the wood a bit from and knocks and bangs it may get.
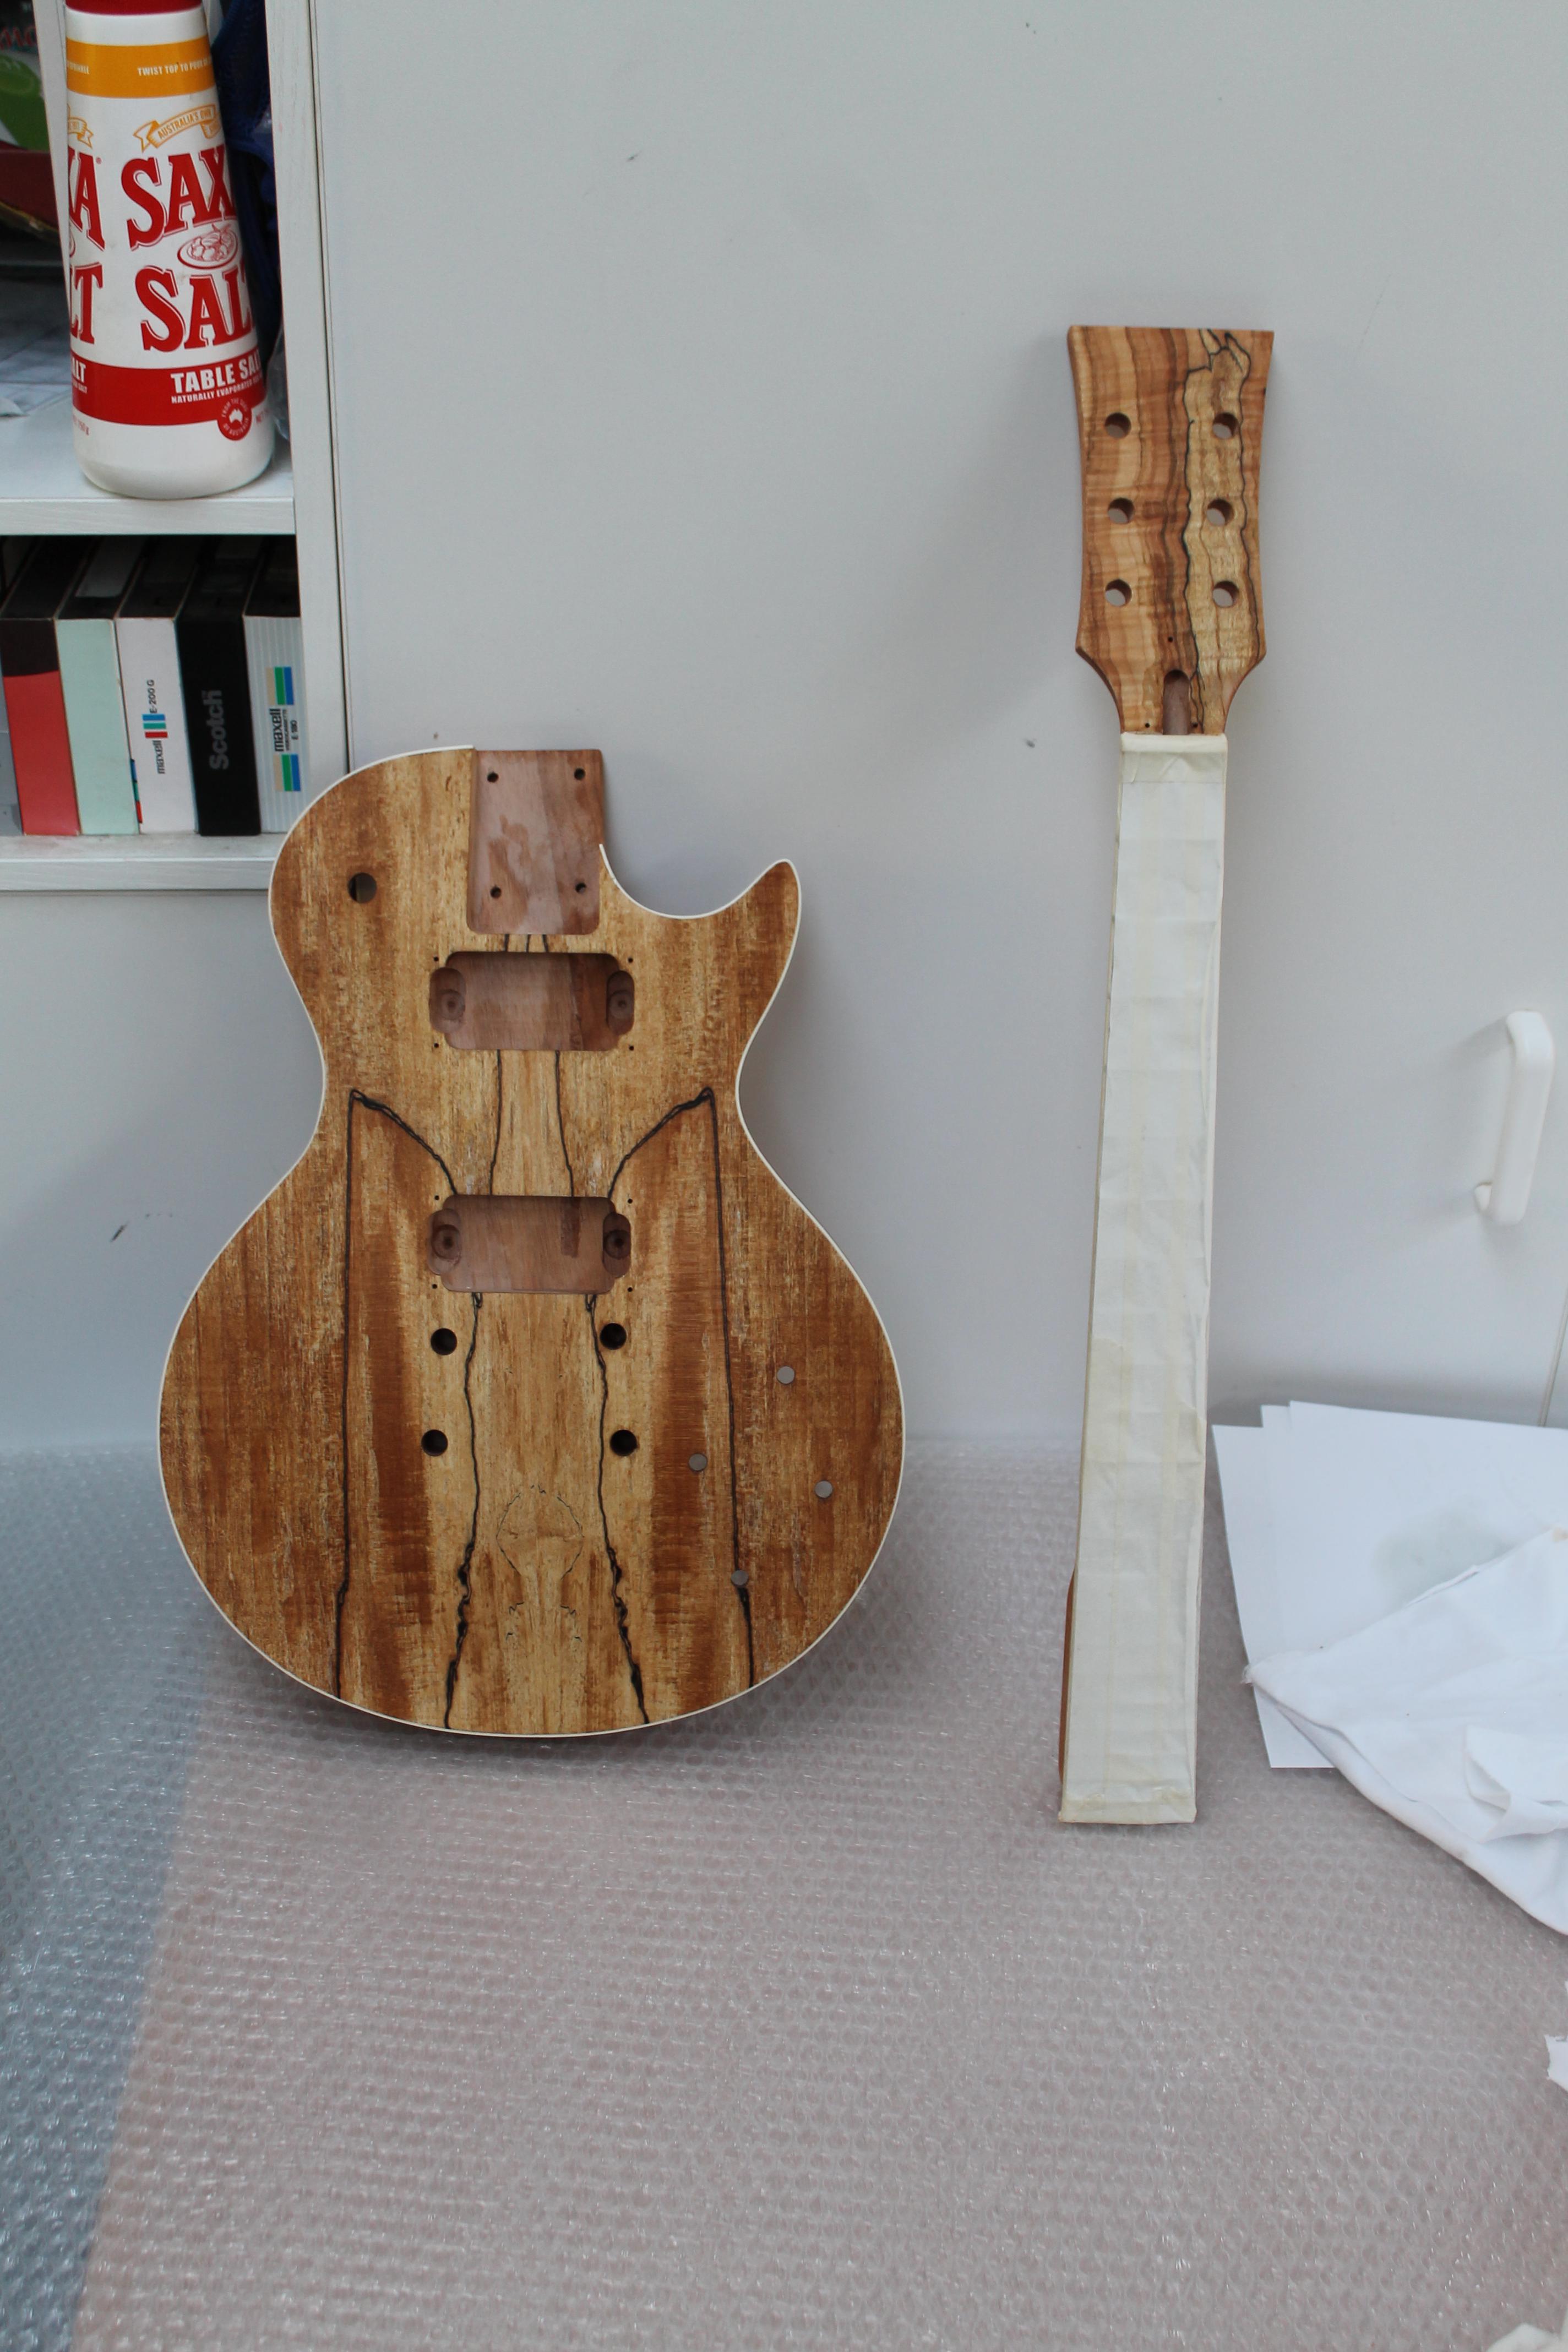
Finished body and headstock together
Comments are closed, but trackbacks and pingbacks are open.