It was now time to begin preparing the body for finishing and this meant sanding!
I worked my way up from 240 to 320 to 400 grit sandpaper across the entire guitar until I was happy with the finish and I had worked out all the rough spots. One things to be aware of is that the Spalted Maple veneer on both the headstock and body appears to only be about 1mm think. For this reason I chose to work this with mainly the 400 sandpaper to ensure that I didn’t sand through the finish in any spots.
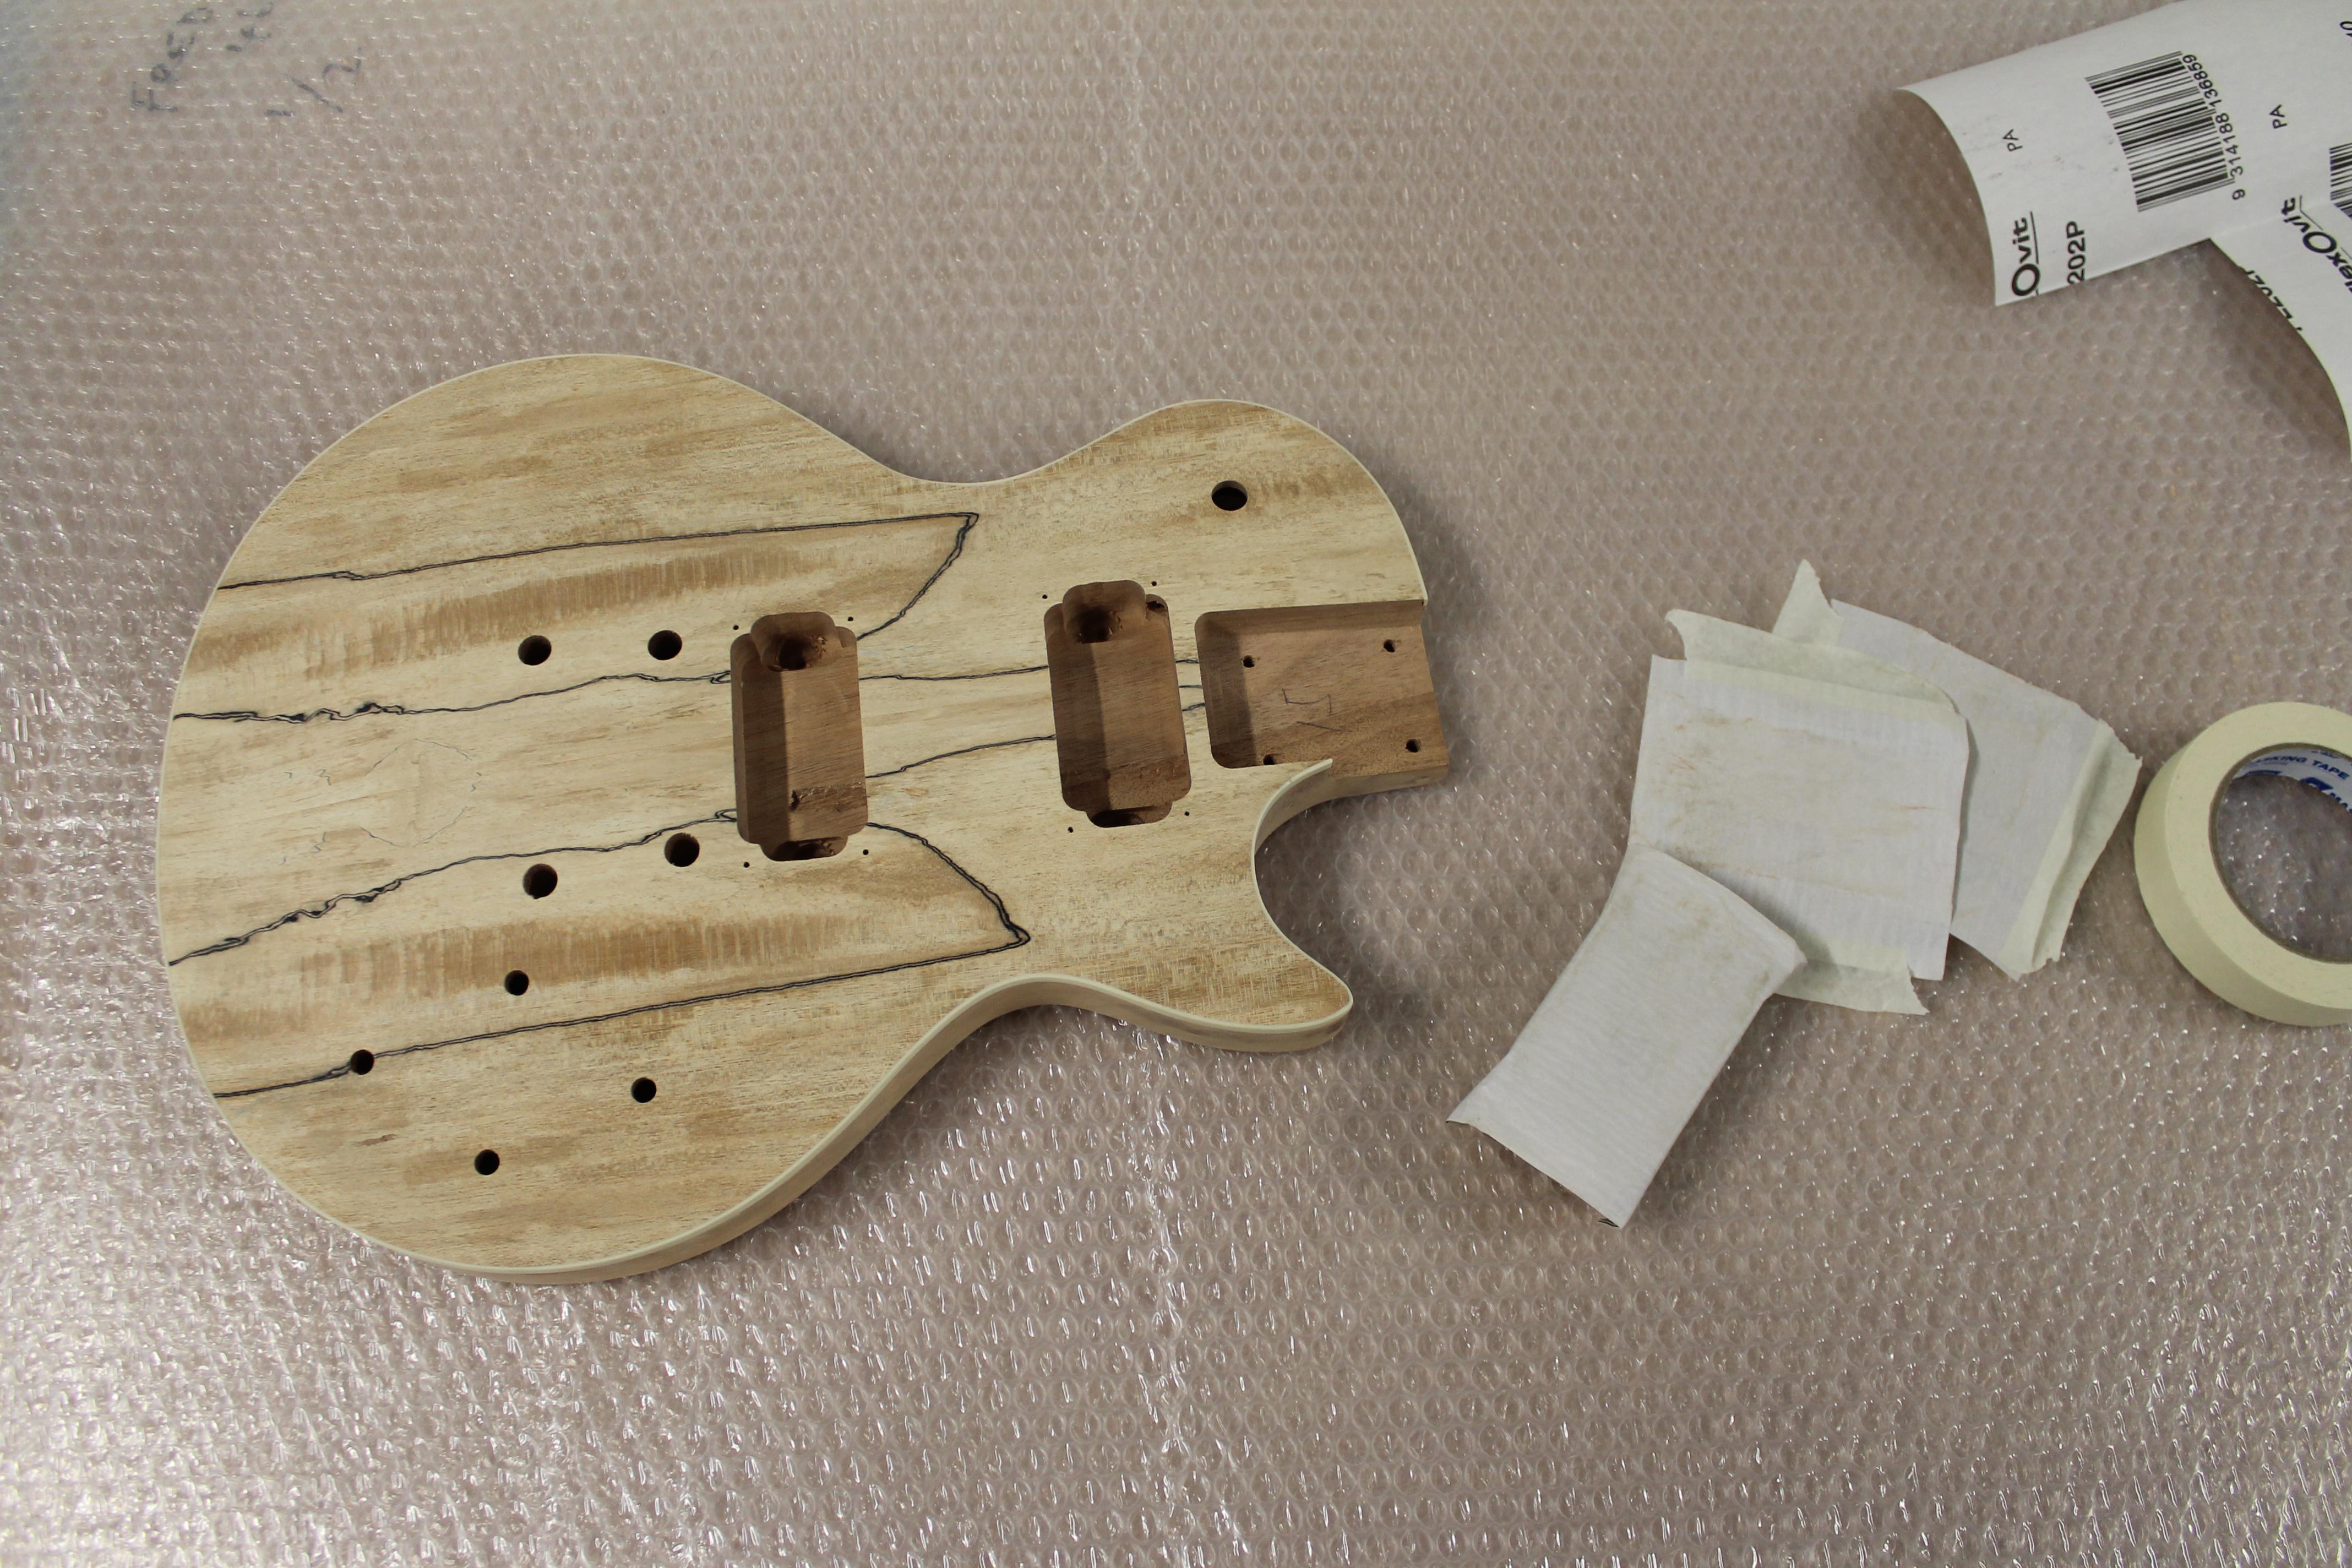
There were a couple of blemish spots across the guitar, mainly on the face that I found difficult to sand smooth, mostly for the fact that I was worried that I would sand through the veneer if I sanded too aggressively in these areas. There were also a couple of blemishes such as the below which could probably have been filled using some wood putty or similar, however I wasn’t confident what effect this would have on the overall look of the face so I decided to leave these for the most part.

Blemish on Body
I imagine that I will need to come back and further sand some spots once I start to apply the finish to the guitar as this may highlight some areas which I have missed, however I am pretty happy with the overall finish of the guitar at this stage.
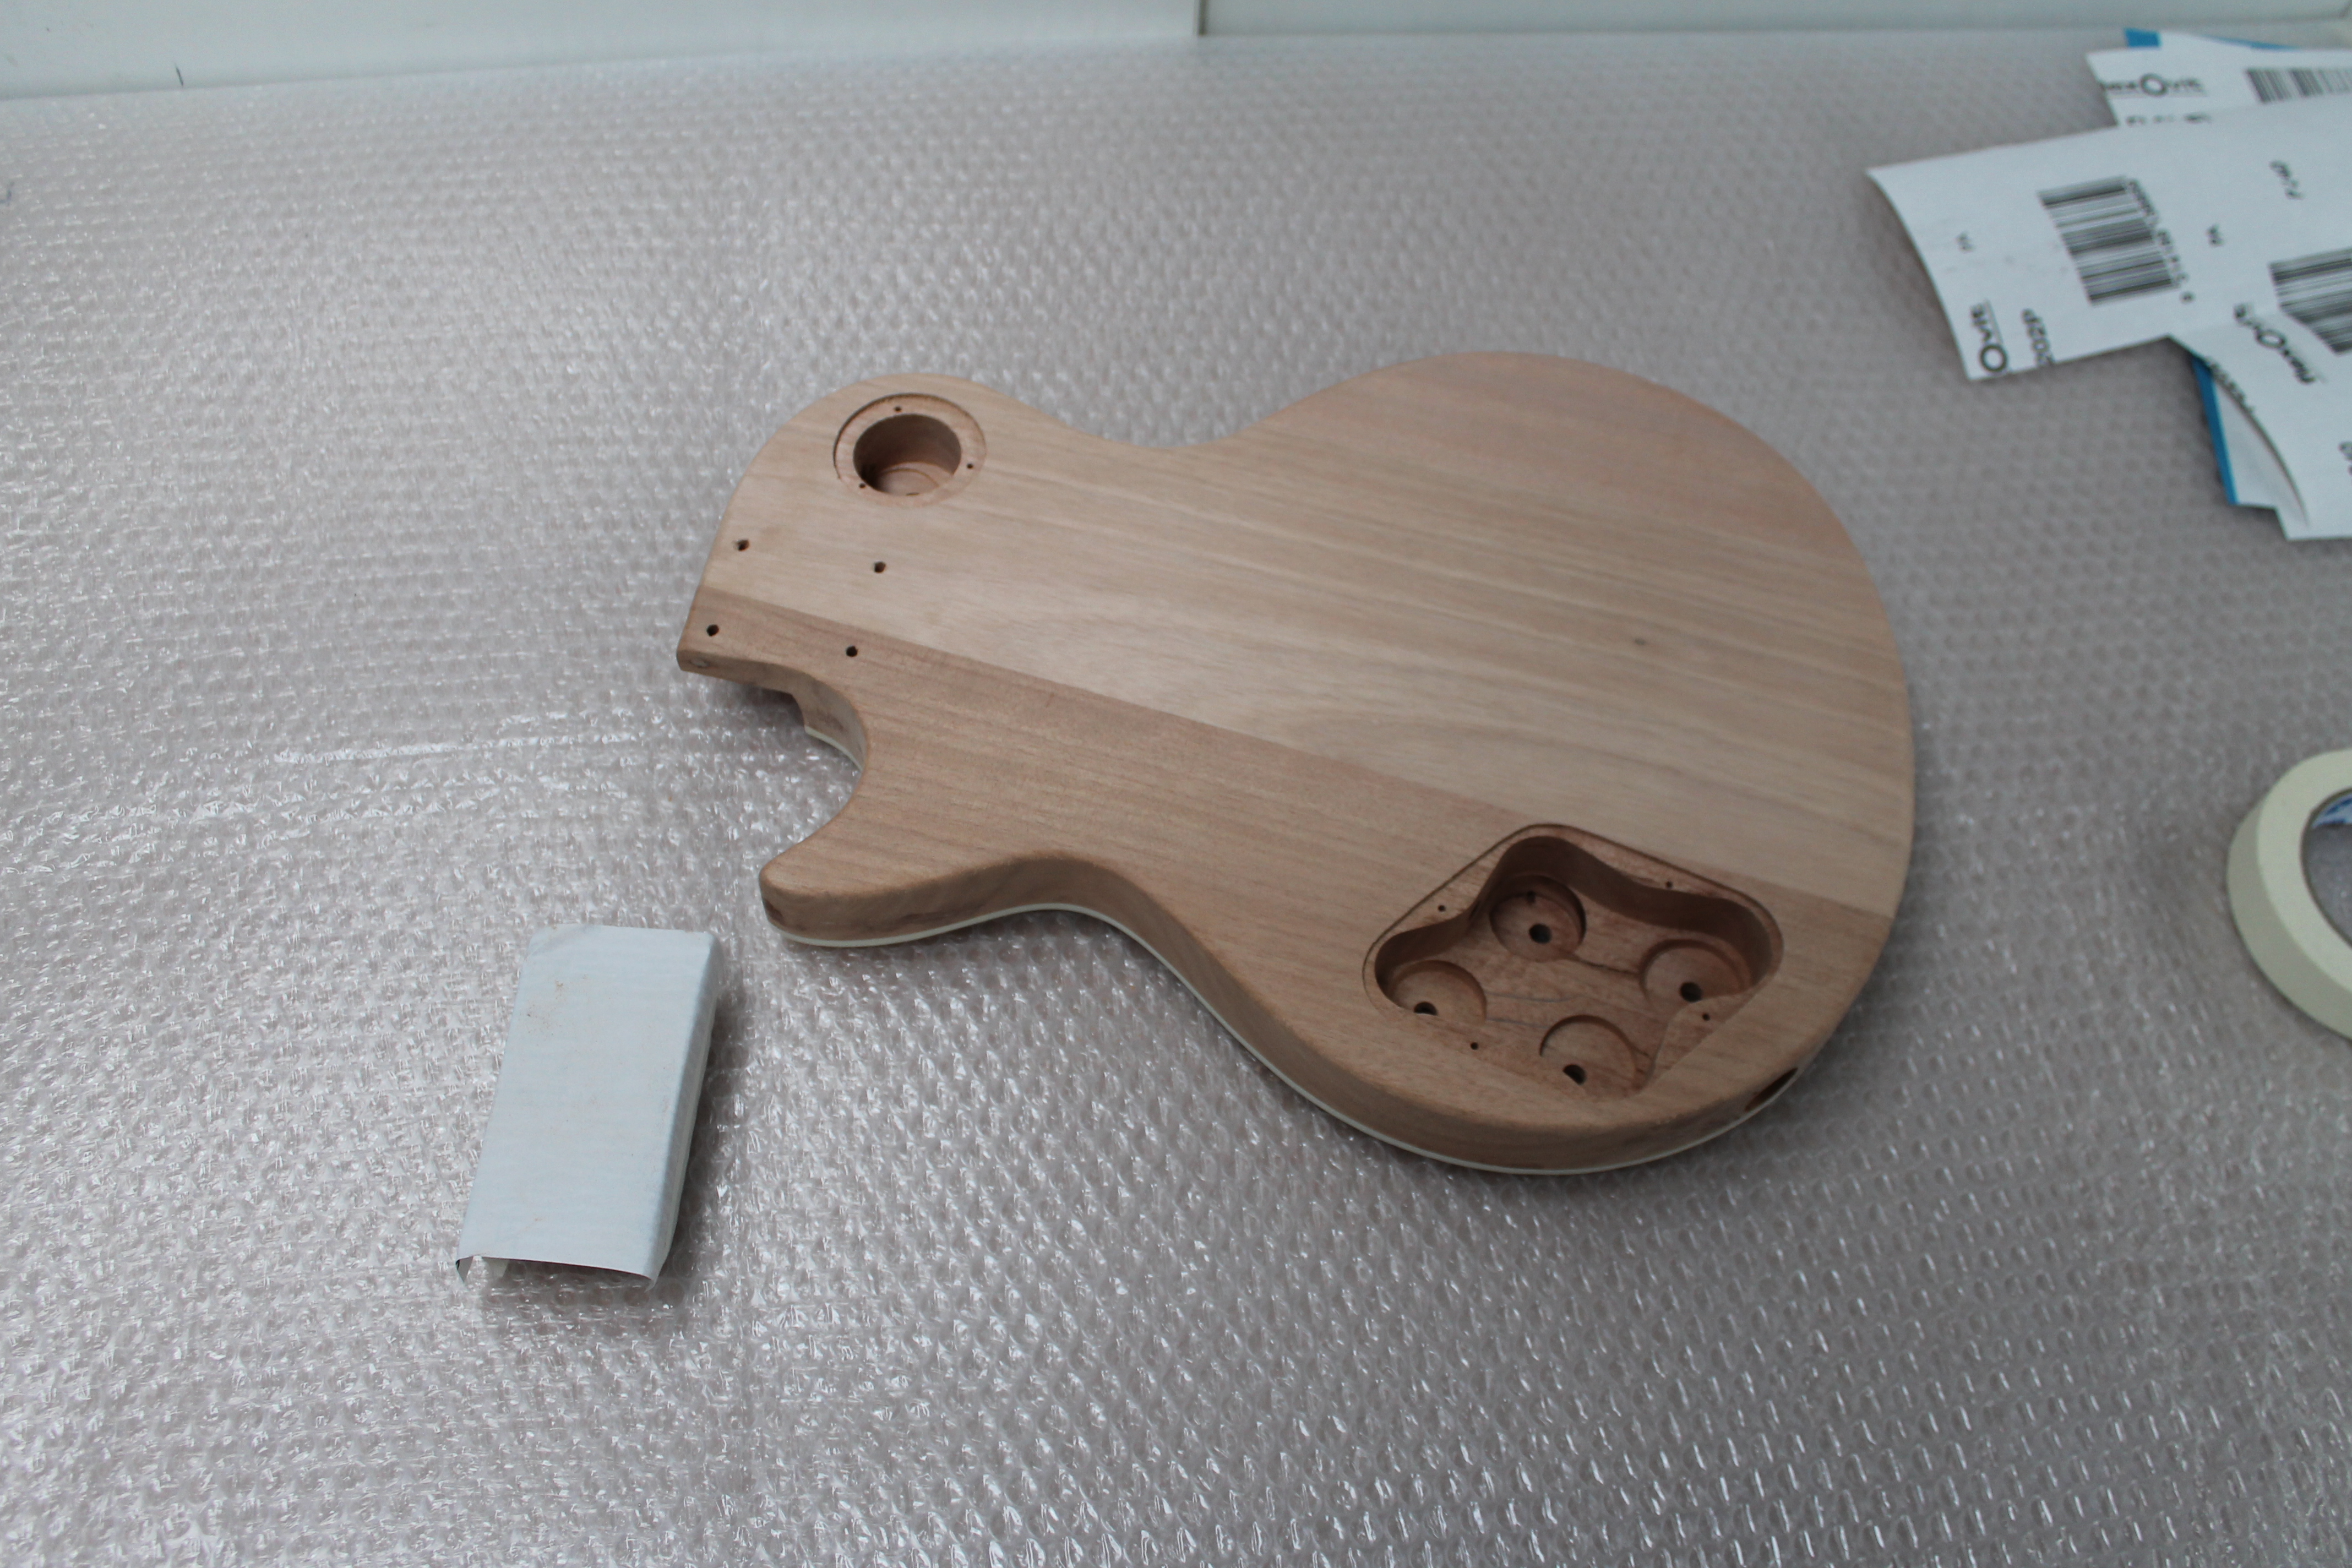
Sanding the rear of the guitar

Grain on the front of the guitar
The next step in the process will be to begin to apply the finish to the guitar.
Comments are closed, but trackbacks and pingbacks are open.